How to Build a Bookshelf: Simple DIY Bookshelf Plans
By Woodworking Nest Editors · Updated
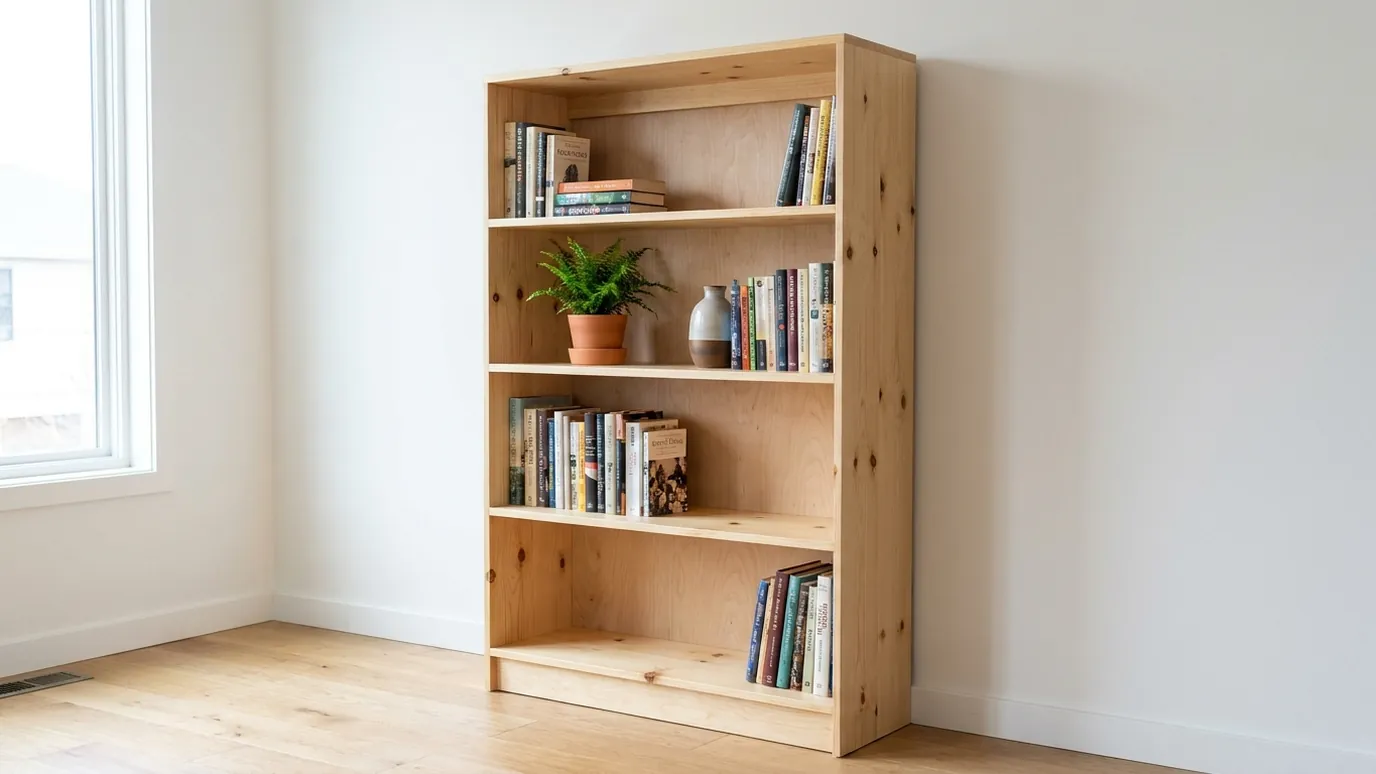
To build a bookshelf, cut two 72 in sides and five 34 1/2 in shelves from 1x12 pine, screw the top and bottom shelves between the sides, add a kick board, fit three middle shelves and nail on a 1/4 in plywood back. This one is 36 in wide and 6 ft tall.
Most people who want to learn how to build a bookshelf picture something like this: a tall, plain bookcase with straight sides, even shelves and nothing fussy. That is exactly what these DIY bookshelf plans give you. They use 1x12 pine boards, which come already 11 1/4 in wide, so you skip ripping plywood on a table saw, and every cut is a simple crosscut.
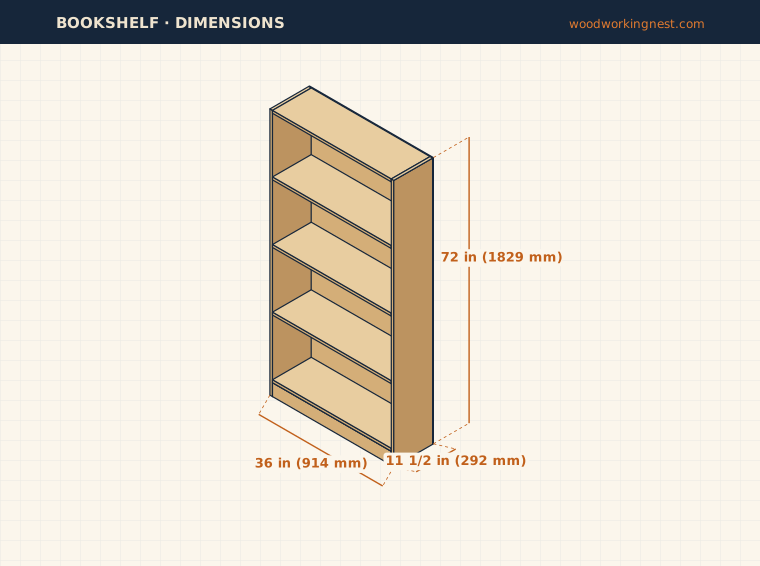
The case is 36 in wide, 11 1/2 in deep and 72 in tall, with five shelves. The bottom shelf sits on a kick board, which keeps it off the floor and stops the bookcase from looking like a box dropped on the carpet. A thin plywood back does more work than it looks: once it is nailed to every shelf, it locks the case square and stops it from leaning sideways. If you are new to woodworking, this is a good second or third project, a step up from something like our 2x4 bench because the parts are bigger and squareness matters more.
Safety review: this project carries load or structural risk. Check local codes and follow the safety notes.
- Difficulty
- Beginner
- Build time
- About 4–5 hours, plus finishing (estimate)
- Finished size
- 36 × 11 1/2 × 72 in
914 × 292 × 1829 mm - Lumber
- 1x12 pine boards, 1/4 in plywood back
- Cost
- Five 1x12 boards, one 1x4 and a sheet of 1/4 in plywood — check local prices
- PDF plans
- Coming soon
Dimensions
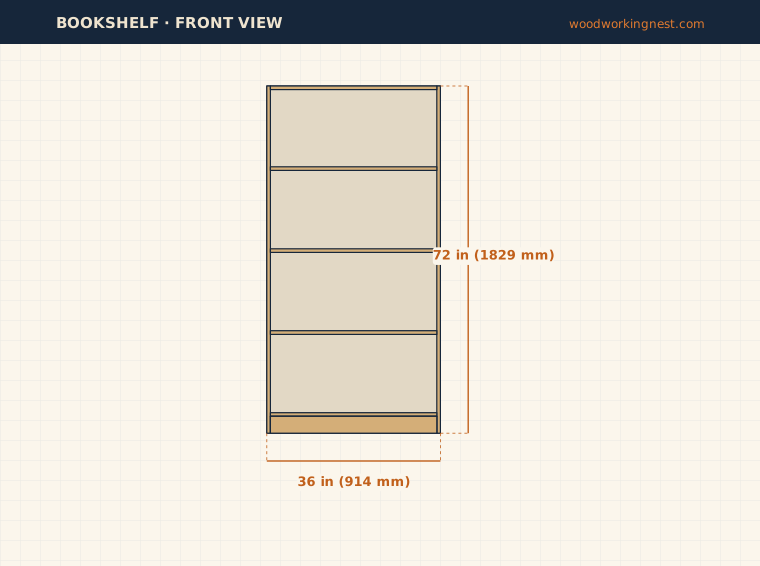
The finished bookshelf is 36 in (914 mm) wide, 11 1/2 in (292 mm) deep and 72 in (1829 mm) tall. That depth fits almost every hardcover and most binders; it is the standard 1x12 width plus the 1/4 in back. Each of the four openings is about 16 in tall, enough for large books and magazine files. The width is kept to 36 in on purpose: shelves much longer than about 3 ft start to sag under a full row of books when they are made from 3/4 in pine.
Materials (shopping list)
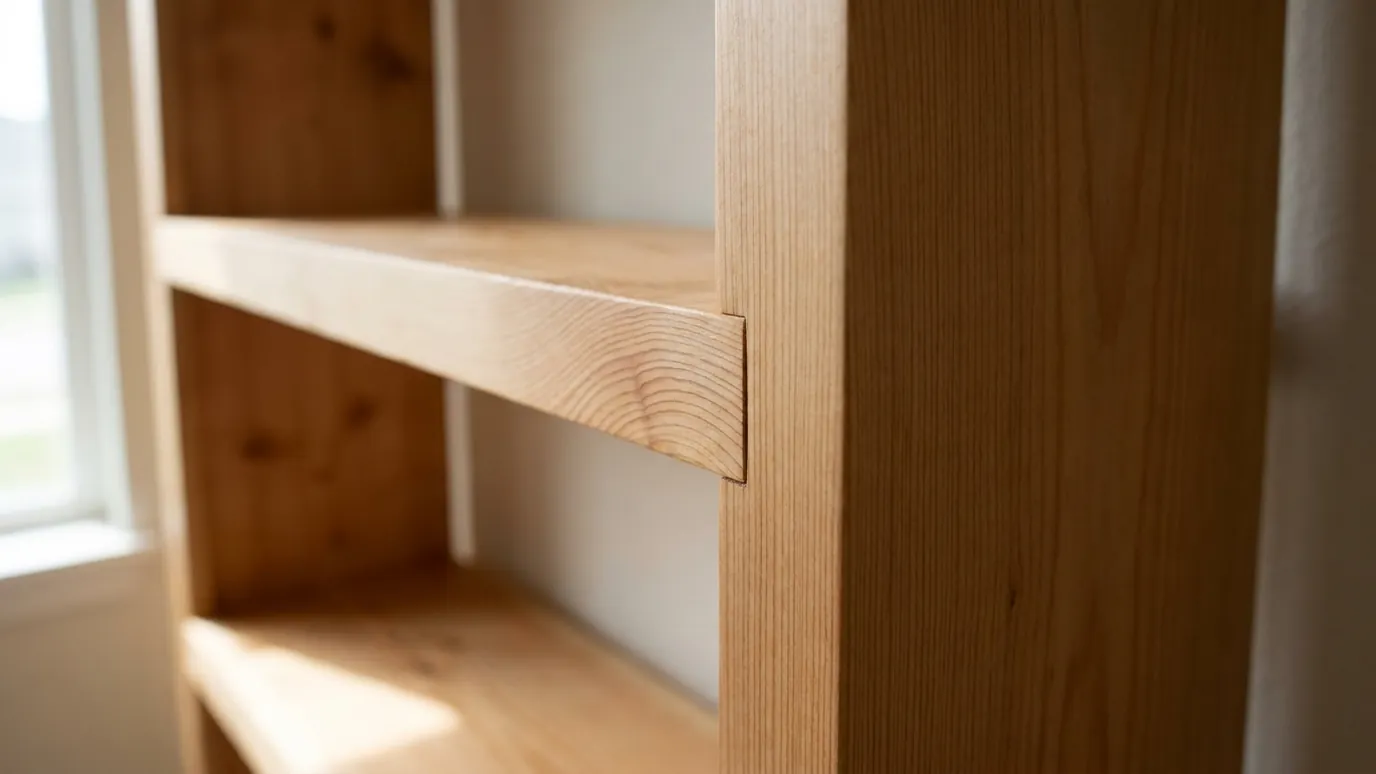
Pick the flattest 1x12s you can find. Look down each board: a slight bow along the length is fine for shelves, but avoid boards that twist or cup across their width, especially for the two sides. Common pine is cheap and easy to work; select pine or poplar costs more but has fewer knots if you plan to paint. In the UK, look for 18 × 220 mm or 19 × 225 mm planed softwood boards; in Australia, 19 × 290 mm or 19 × 240 mm pine boards, adjusting the depth to suit.
| Material | Qty | Size | Notes |
|---|---|---|---|
| 1x12 pine board | 5 | 8 ft (2.4 m) | Flat, straight boards for the sides |
| 1x4 pine board | 1 | 8 ft (2.4 m) | Kick boards |
| Plywood | 1 sheet | 1/4 in, 4 × 8 ft | Back panel, cut to 36 × 72 in |
| Pocket hole screws or wood screws | about 50 | 1 1/4 in pocket screws or 2 in wood screws | |
| Brad nails or staples | 1 small box | 3/4 in | For the back |
| Wood glue | 1 small bottle | ||
| Anti-tip furniture kit | 1 | Strap or bracket that screws into a wall stud |
Cut list
Cut the two 72 in sides first, one from each of two 8 ft 1x12s. Then cut the five 34 1/2 in shelves, two from each of the next two boards and one from the fifth. Set up a stop block for the shelves so all five come out exactly the same length; even 1/16 in difference will show as a gap or a bowed side. The two kick boards come from a single 1x4, and the back is the 1/4 in plywood sheet cut to 36 × 72 in. Many home centers will make that one cut for you if you ask.
| Part | Qty | Length | Width | Thickness | Material |
|---|---|---|---|---|---|
| Side | 2 | 72 (1829 mm) | 11 1/4 (286 mm) | 3/4 (19 mm) | 1x12 pine |
| Shelf | 5 | 34 1/2 (876 mm) | 11 1/4 (286 mm) | 3/4 (19 mm) | 1x12 pine |
| Kick board | 2 | 34 1/2 (876 mm) | 3 1/2 (89 mm) | 3/4 (19 mm) | 1x4 pine |
| Back panel | 1 | 72 (1829 mm) | 36 (914 mm) | 1/4 (6 mm) | 1/4 in plywood |
Tools
A miter saw makes the shelf cuts quick and square, but a circular saw with a speed square works fine. You will need a drill and driver, a tape measure, a square and a couple of clamps. A pocket hole jig gives the cleanest result because no screws show on the outside. Without one, you can screw through the sides with 2 in screws and fill or plug the holes before painting.
Essential: Tape measure, Miter saw, Drill/driver, Clamps, Safety glasses, Speed square, Level
Optional: Pocket hole jig, Random orbit sander, Brad nailer
Step-by-step instructions
Step 1: Mark the shelf positions on the sides
Lay the two sides next to each other on a flat surface, inside faces up and bottom ends lined up. Measure from the bottom and mark the underside of each shelf across both boards at once: 3 1/2 in for the bottom shelf, then 20 1/2, 37 1/2 and 54 1/2 in for the middle shelves. The top shelf sits flush with the top ends. Use a square to carry each line all the way across.
Marking both sides together means the shelves will end up level even if your tape is slightly off. Mark an X above each line so you know which side of the line the shelf goes on. If you are using pocket holes, drill two or three on the underside of each shelf at both ends now, so they end up hidden.
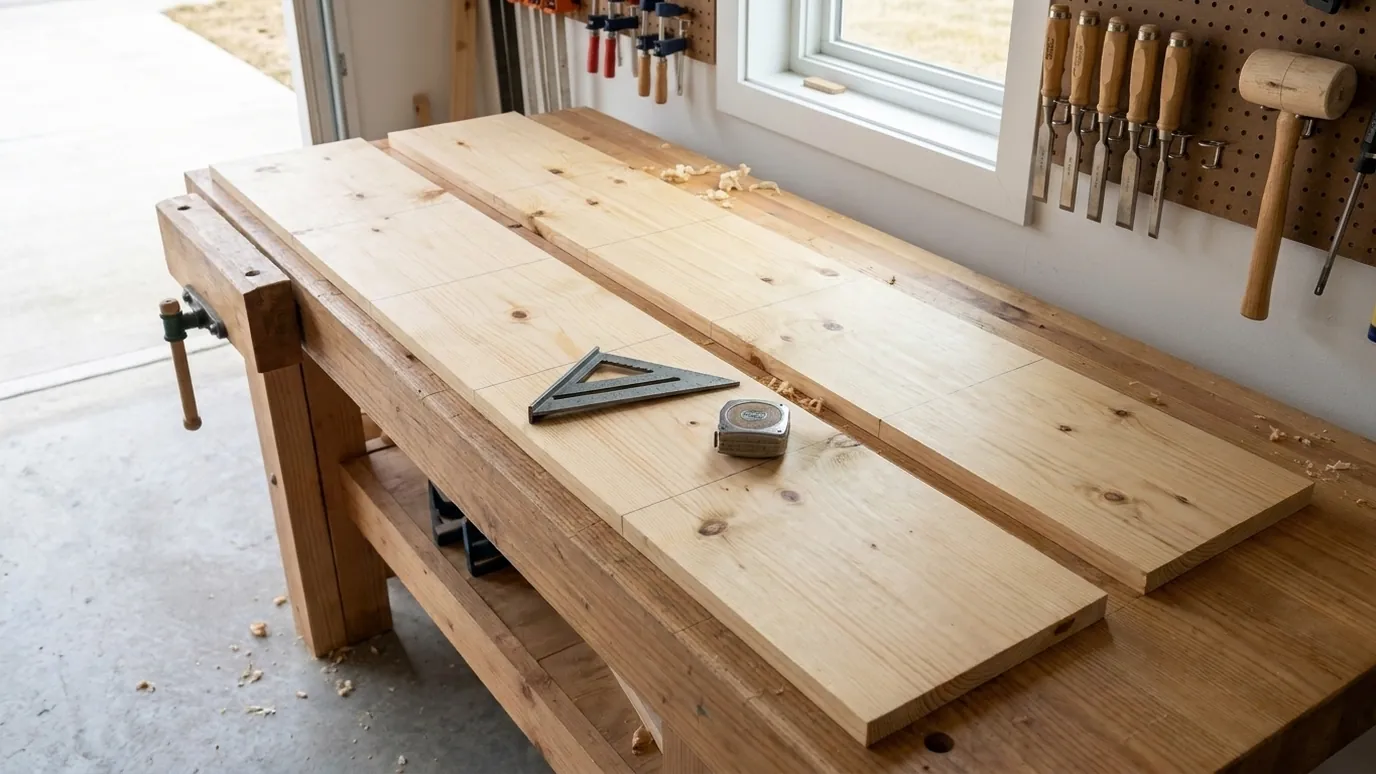
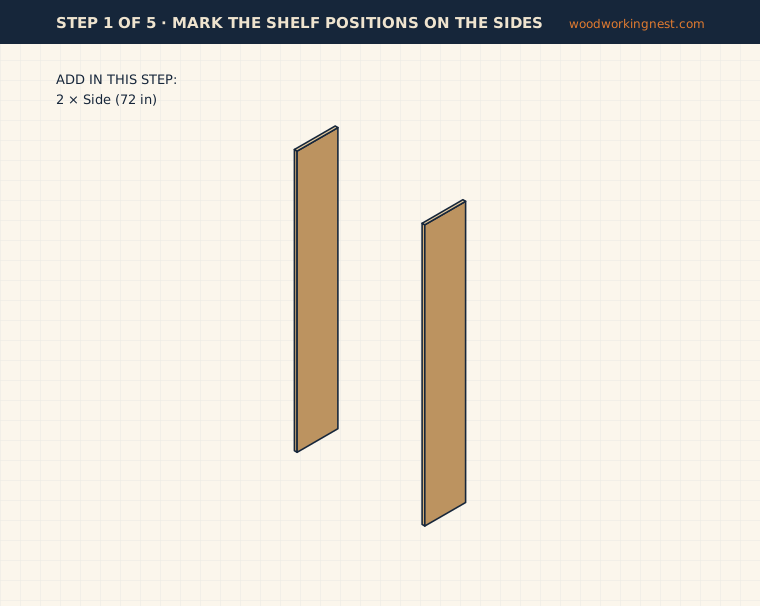
Tip: Clamp the two sides together before marking so they cannot shift.
Step 2: Build the box
Stand one side on its back edge and clamp the bottom shelf to it, its underside on the 3 1/2 in line and its front edge flush with the front of the side. Add glue and fasten it with 1 1/4 in pocket screws, or with three 2 in screws driven through the side into the shelf end. Fix the top shelf the same way, flush with the top of the side. Then bring in the second side and attach both shelves to it.
You now have a long open box. Measure it corner to corner both ways. If the diagonals do not match, push the long corners together until they do, and keep the case on a flat floor while the glue sets.
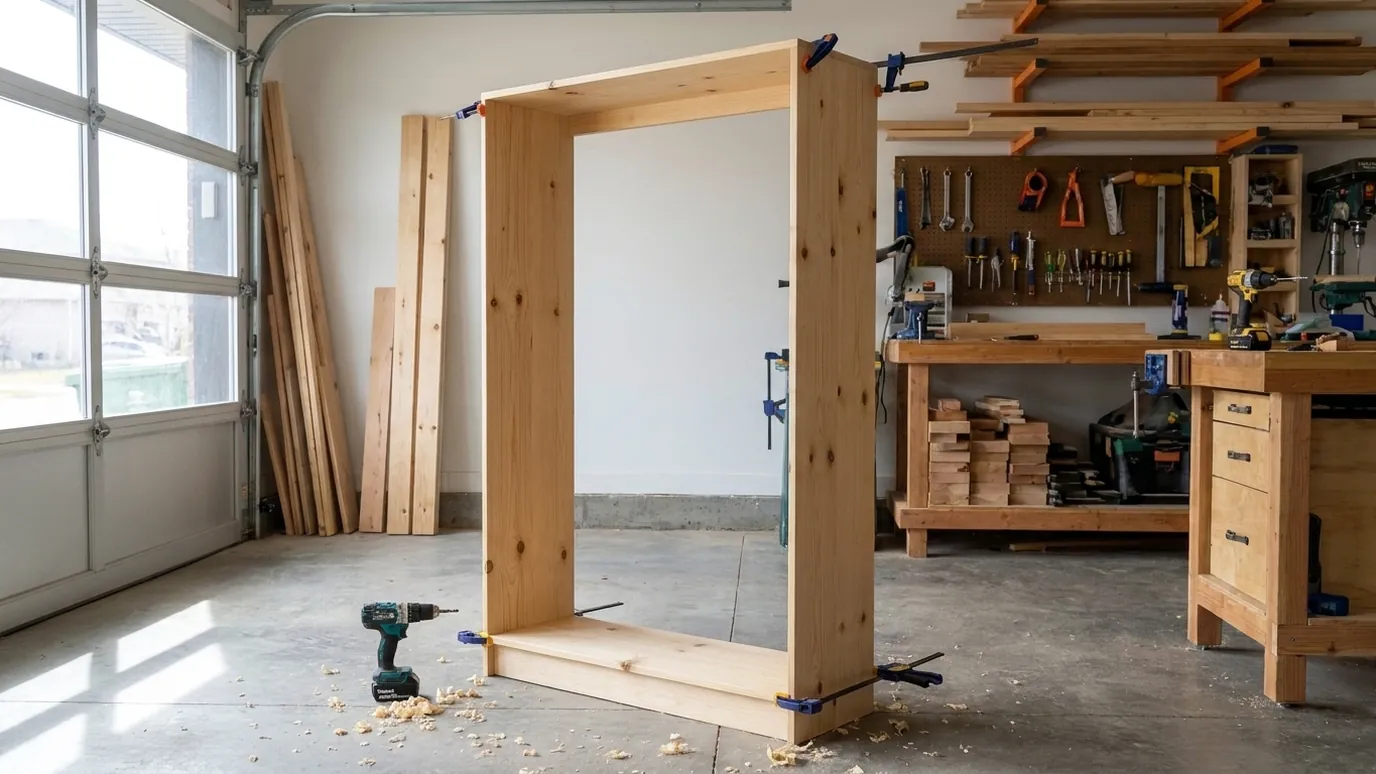
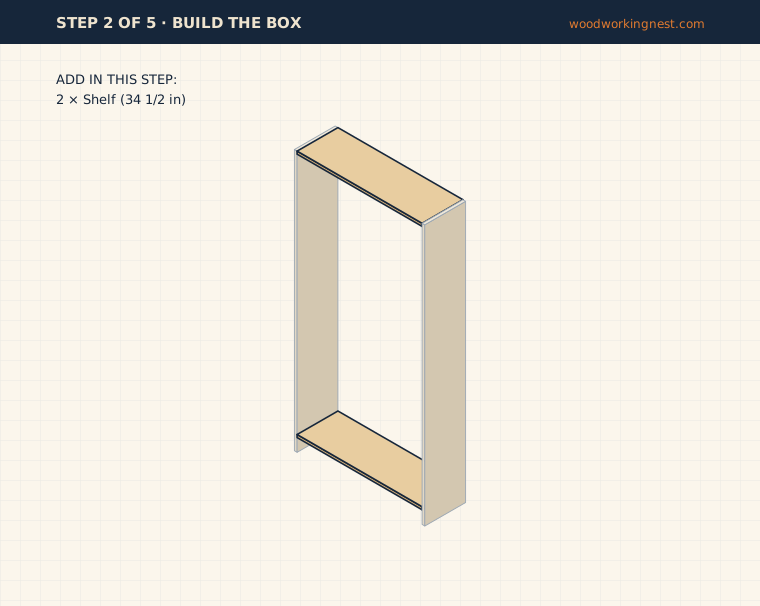
Tip: Pre-drill screw holes near the board ends so the pine does not split.
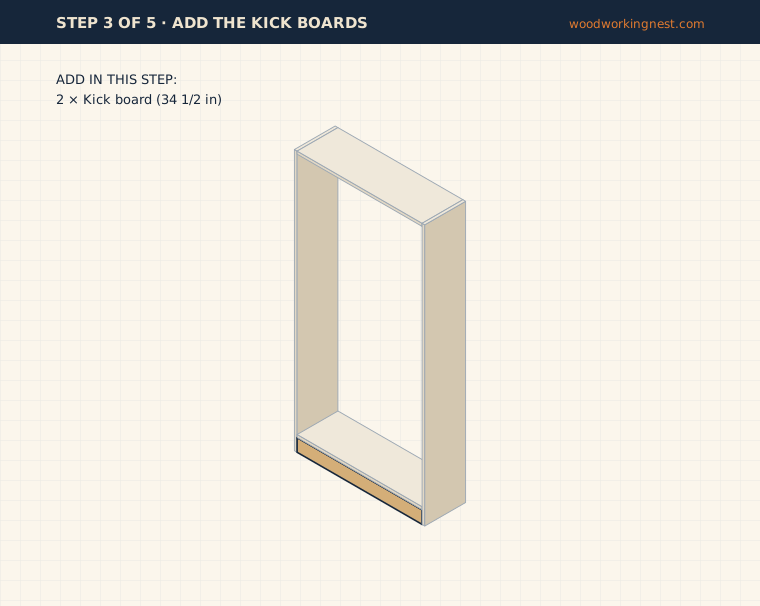
Step 3: Add the kick boards
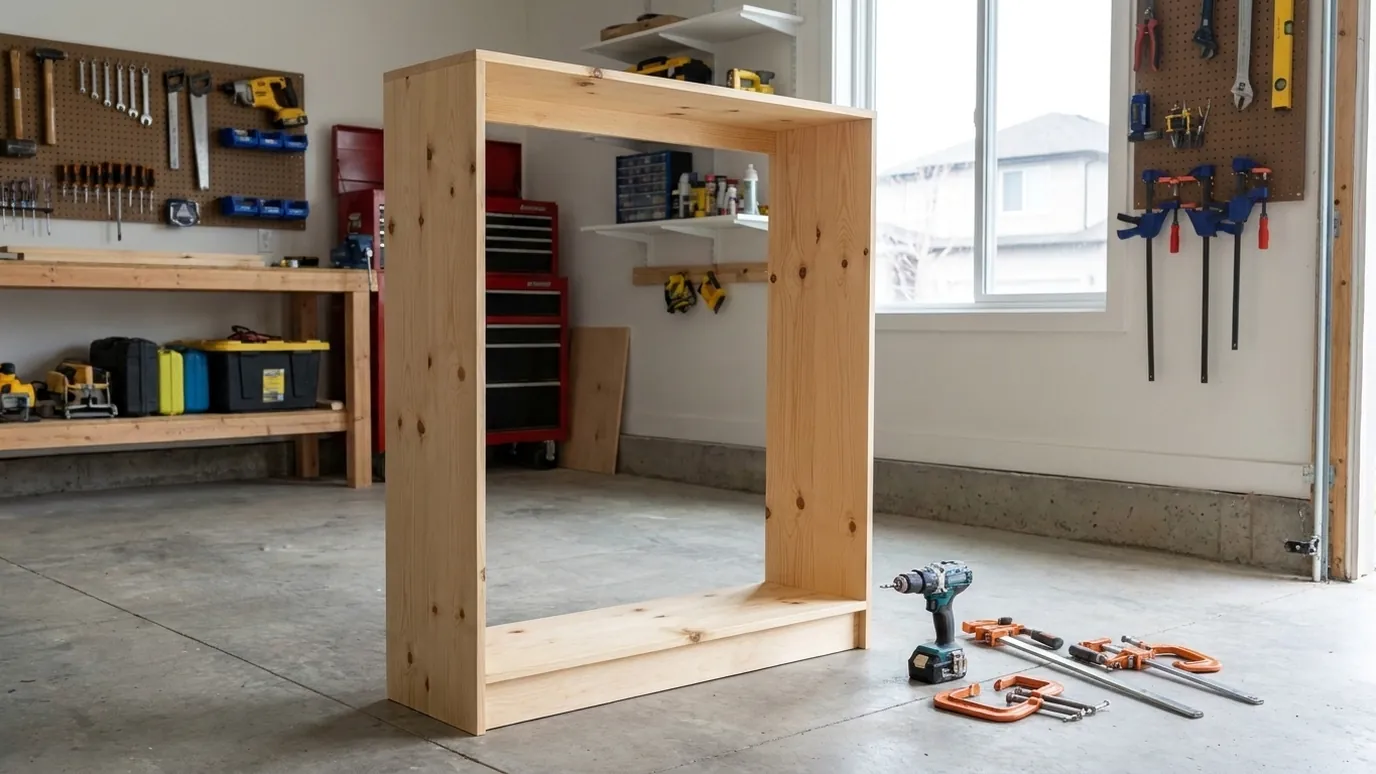
Turn the case so it lies on its back. Fit one kick board under the bottom shelf at the front, flush with the front edges of the sides, and the other at the back, flush with the back edges of the sides. Glue them, then screw through the sides into the ends of each kick board, and drive a few 1 1/4 in screws down through the bottom shelf into the top edge of each one.
The front kick board hides the gap under the bottom shelf. The back one gives the plywood back something solid to nail into along the floor and helps the bottom shelf carry heavy books. If your floor has carpet or baseboard trim, this setup also lets the case sit tight against the wall later.
Step 4: Install the middle shelves
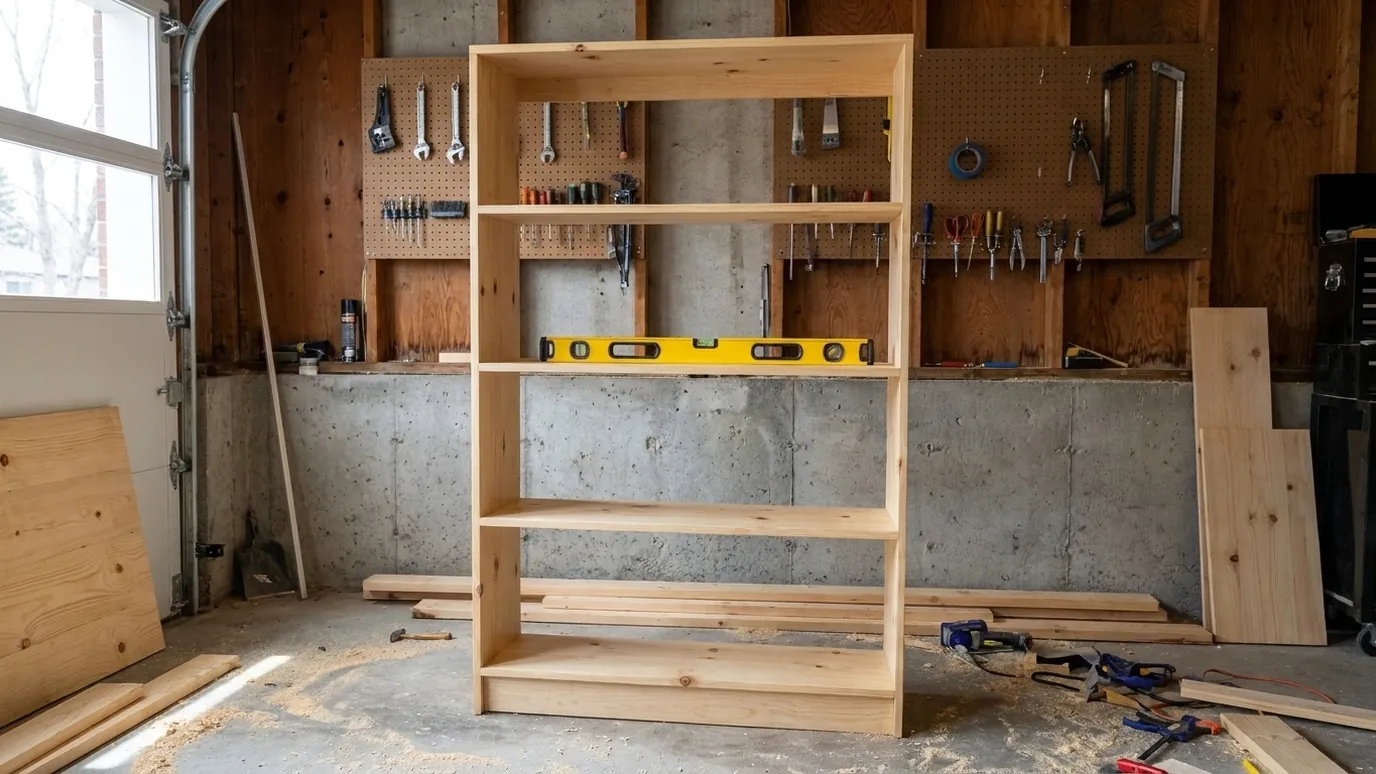
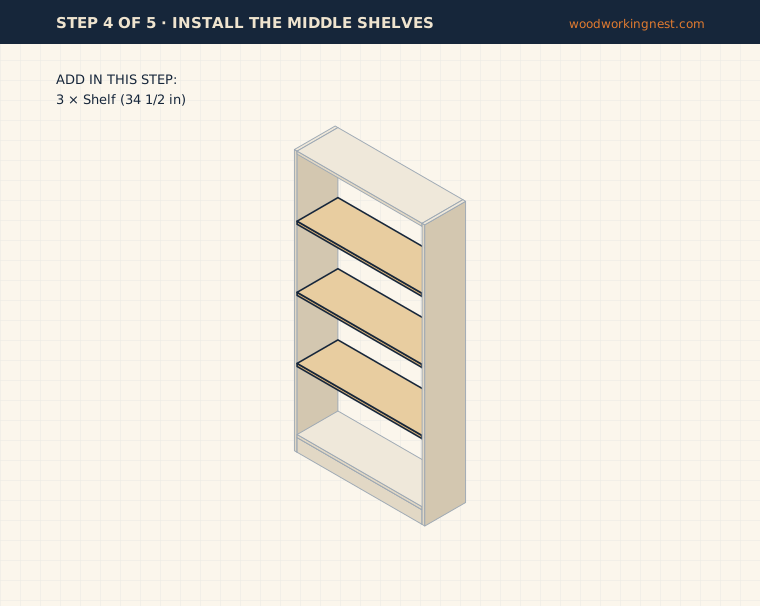
Slide each middle shelf into place with its underside on its pencil line and its front edge flush with the sides. A pair of scrap blocks cut to 16 1/4 in makes this easy: stand them on the shelf below, rest the new shelf on top, and fasten it. Use glue and two pocket screws or screws through the sides at each end.
Work from the bottom up so you always have a shelf to rest the spacer blocks on. Check each shelf with a level before the glue grabs. The blocks keep the shelves parallel, but a small error on the bottom shelf would copy itself upward, so check that one twice.
Tip: Cut the spacer blocks from the leftover 1x12 so they are perfectly square.
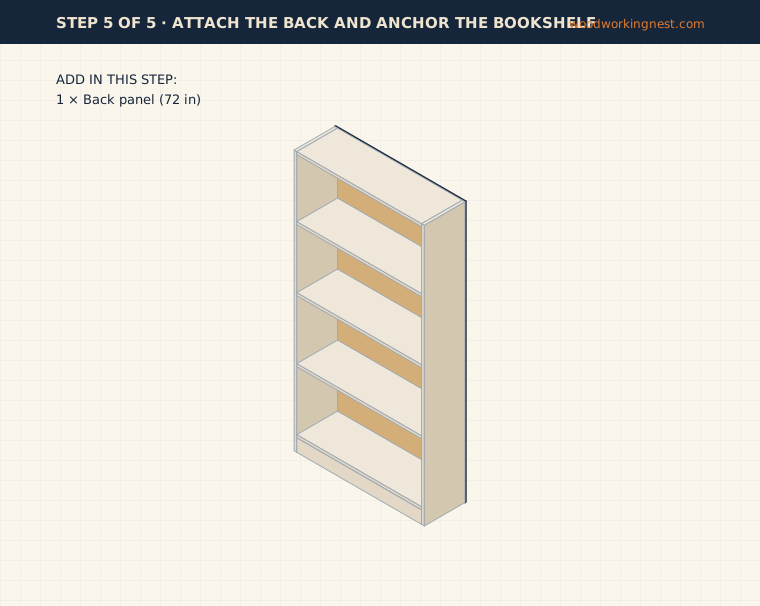
Step 5: Attach the back and anchor the bookshelf
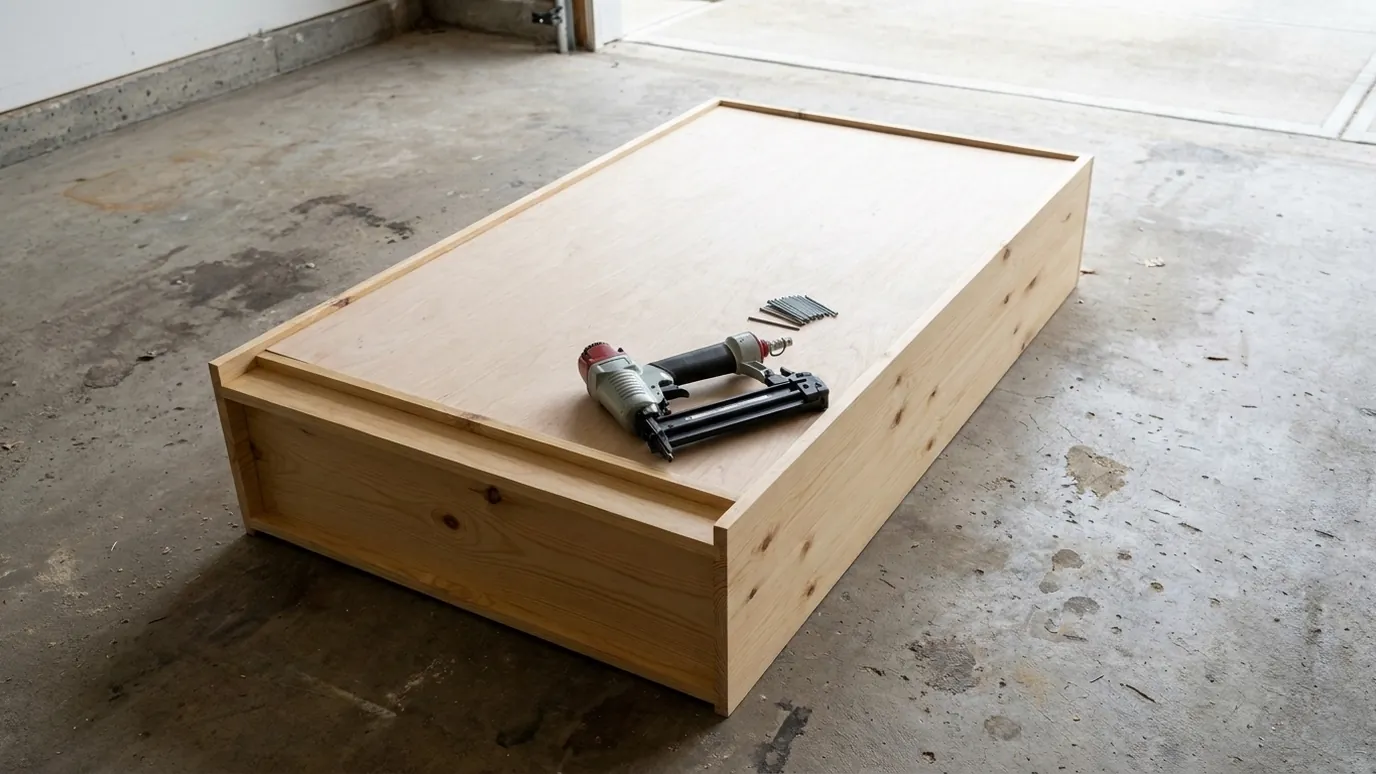
With the case face down, check the diagonals one last time, then lay the plywood back on top with the good face toward the inside. Line it up with one corner and nail or staple it along that side first with 3/4 in brads, every 6 in. Square the case to the other edges of the plywood, then nail the rest of the edges and a line along the center of each shelf.
Stand the bookshelf up and fix it to the wall before you load it. Use a furniture anti-tip strap or an L bracket screwed into a wall stud, near the top of the case. A 6 ft bookcase full of books is heavy and can fall forward if a child climbs it.
Safety: Always anchor tall furniture to a wall stud. Tip-overs cause serious injuries, especially to children.
Finishing
Sand all faces to 150 grit and slightly round the front edges of the shelves so they do not chip. Pine looks blotchy under some stains, so apply a pre-stain wood conditioner first if you want a stained finish. For paint, prime first with a stain-blocking primer so knots do not bleed through later. On a wooden bookshelf that will see daily use, two coats of wipe-on polyurethane or water-based clear finish are enough for a natural look. Let the finish cure fully, usually a few days, before loading books, or they can stick to the shelves.
Common mistakes to avoid
The most common mistake is shelves of slightly different lengths, which pushes the sides out of square and leaves gaps. Cut all five with one stop block setting. The second is skipping the plywood back or attaching it with only a few nails: without it, a tall case racks sideways under load. The third is loading the bookshelf before it is anchored to the wall, which is how most tip-over accidents happen.
How to change the size
For a shorter bookcase, shorten the two sides and leave out a middle shelf; a 48 in tall version with three openings fits under most windows. To make it wider, stay at or below about 36 in between the sides, or add a center divider so no single shelf spans more than that. For heavier loads, such as records or textbooks, glue a 1x2 strip to the front edge of each shelf; it stiffens the shelf and makes the edge look thicker. For adjustable shelves, drill a line of 1/4 in shelf-pin holes with a jig instead of fixing the middle shelves. If you want a matching place to sit, see our furniture plans.
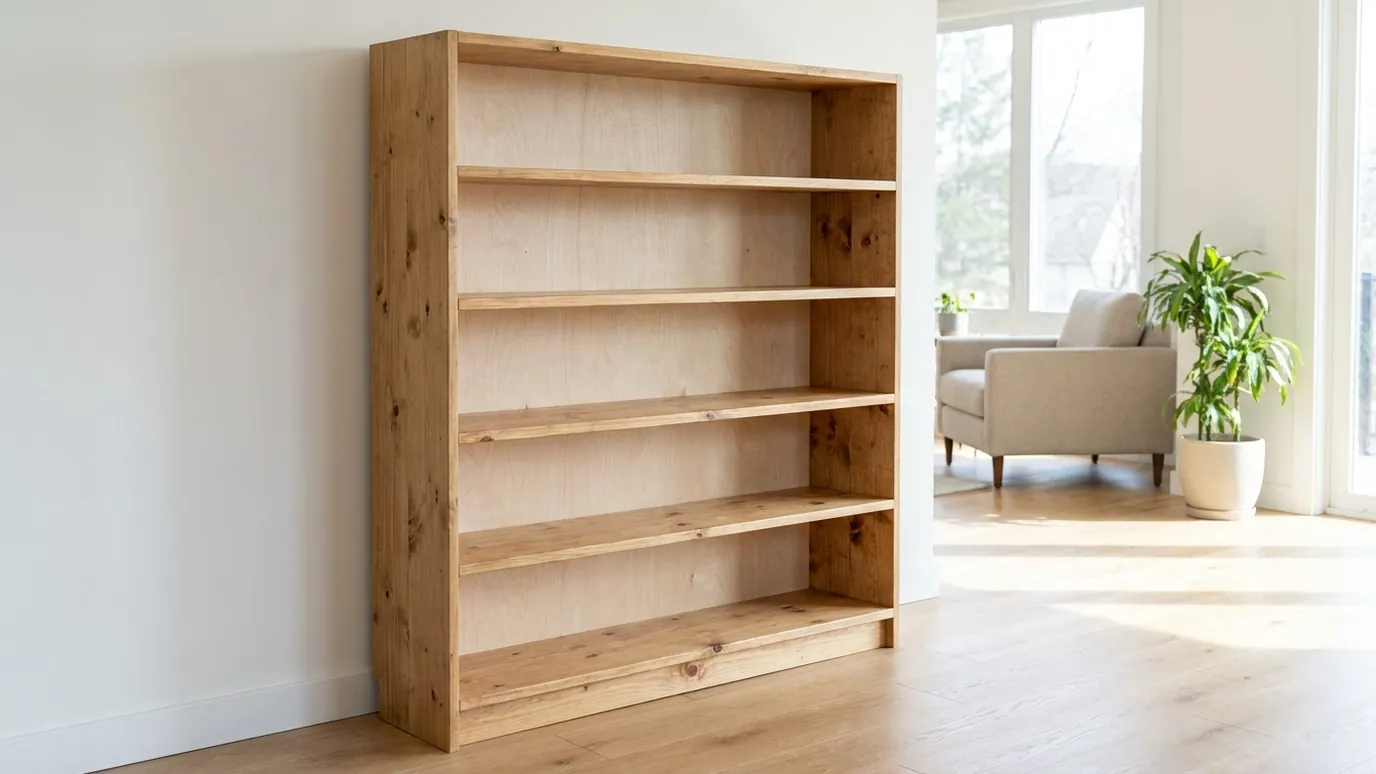
Finished bookshelf photos
Safety
Wear safety glasses for every cut and when driving screws. Clamp boards before drilling instead of holding them by hand. A full bookshelf can weigh well over 100 lb, so always anchor it to a wall stud with an anti-tip kit. These plans do not include a load rating. Read our woodworking safety guide before you start.
Frequently asked questions
Is it hard to learn how to build a bookshelf?
Not if you start with a simple case like this one: two sides, five shelves, a kick board and a plywood back, all cut from standard boards. Every cut is a straight crosscut, and the joints are screws and glue, so you only need a saw, a drill and clamps.
What wood is best for a DIY bookcase?
Pine 1x12 boards are the easiest and cheapest choice. Poplar and select pine have fewer knots and paint well. Plywood is flatter but needs ripping to width, which is easier with a table saw or track saw.
How much does it cost to build a bookshelf?
Usually less than a store-bought solid wood bookcase of the same size, since you need five 1x12 boards, one 1x4 and a sheet of 1/4 in plywood. Prices vary a lot by region and wood grade, so check your local store.
How long can a bookshelf shelf be before it sags?
For 3/4 in pine loaded with books, about 32–36 in between supports is a sensible limit. Longer shelves need a front edge strip, a thicker shelf or a center divider.
Do I need to anchor a bookshelf to the wall?
Yes. Any tall bookcase should be fixed to a wall stud with an anti-tip strap or bracket, even if it feels steady. A loaded bookshelf can tip forward if someone pulls on a shelf or a child climbs it.
Are these simple bookshelf plans free?
Yes. The full plan, including the cut list in inches and millimeters and a diagram for every step, is free on this page.
Related plans
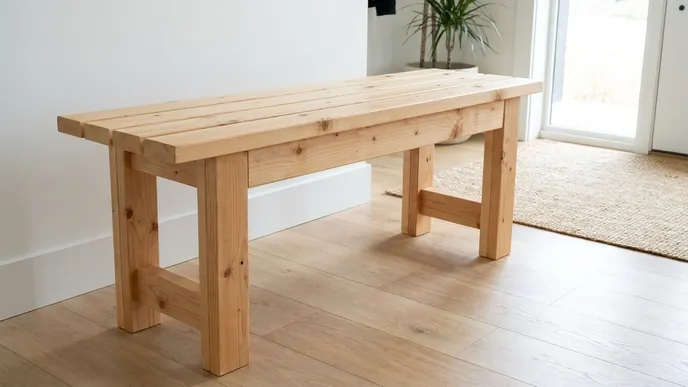
2x4 Bench Plans: Simple DIY Bench for Indoors or Out
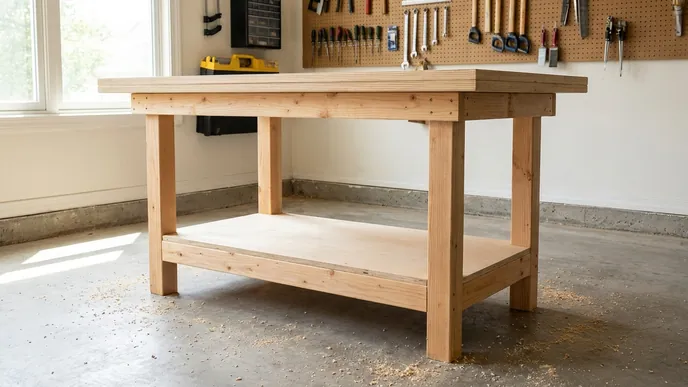
2x4 Workbench Plans: A Sturdy DIY Workbench With a Shelf
More plans: all furniture plans · every free woodworking plan · board foot calculator
How this plan was made
This plan was designed from a full 3D part model and checked so the cut list, the diagrams and the finished size agree. It has not yet been built and photographed by us. The joinery and sizes follow common, well-tested bookcase practice.
Written by Woodworking Nest Editors. Measurements, the cut list and all diagrams come from one shared 3D part model, so they always agree. Photos marked “Illustrative render” were created with AI image tools to show the finished look; they are not photos of a real build. Status: Conceptual design. Found a mistake? Tell us and we will fix it (see our corrections policy).