DIY Planter Box: Simple Cedar Planter Box Plans
By Woodworking Nest Editors · Reviewed by Daniel Brooks · Updated
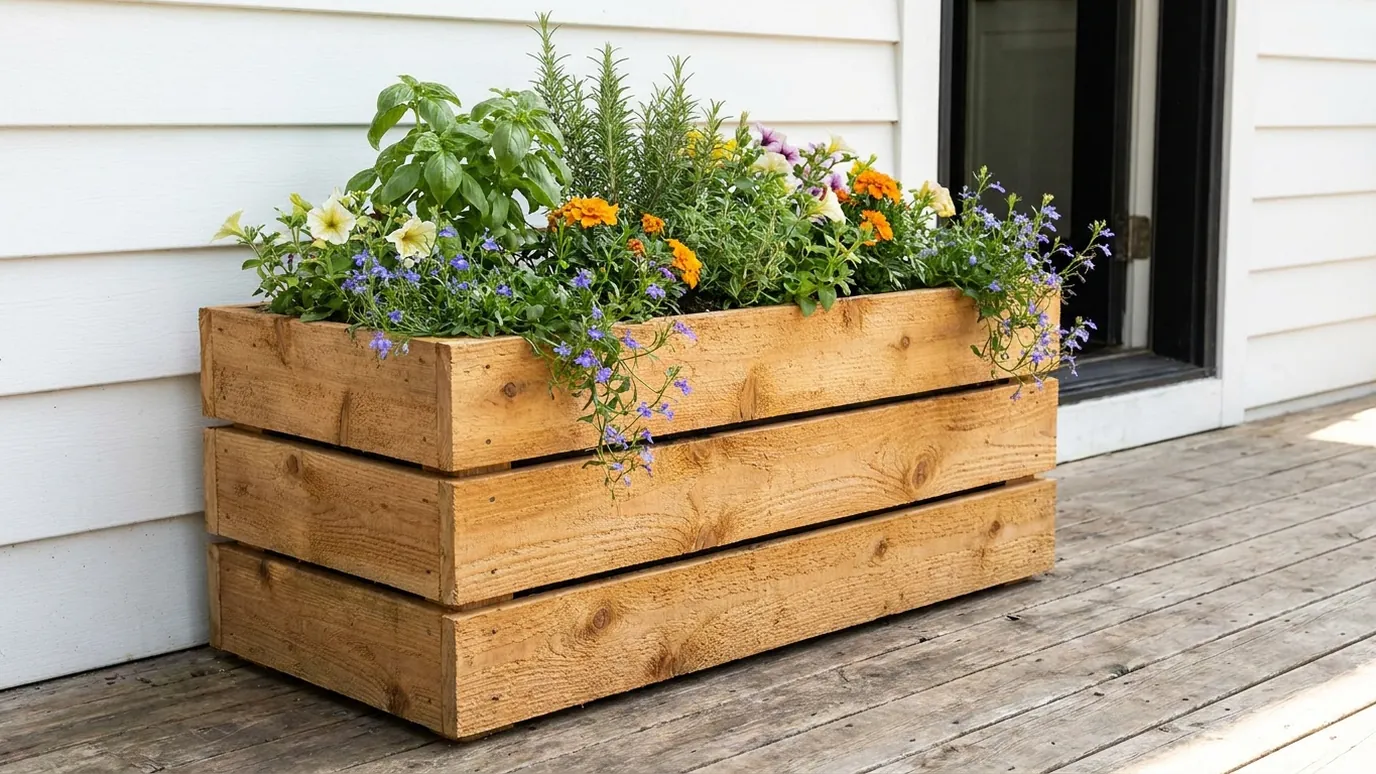
This DIY planter box is 36 in long, 12 in wide and 16 1/2 in tall. It is built from four cedar 1x6 boards, one 2x2 and one 1x2: three boards high on each side, screwed to 2x2 corner legs, with five bottom slats on cleats and 1 in gaps for drainage. It takes about two hours.
A planter box is one of the most satisfying small builds: an afternoon of work and you have somewhere to grow herbs by the kitchen door, flowers along a deck, or tomatoes on a balcony. These planter box plans keep things simple. The sides are ordinary 1x6 cedar boards screwed onto 2x2 legs at each corner, so there are no tricky joints, and every board is cut straight and square.
The detail that makes a planter last is the bottom. Here it sits 2 in above the ground on two cleats, and the five bottom slats have 1 in gaps between them. Water drains straight through, air reaches the underside, and the bottom boards dry out between waterings instead of rotting. For a bigger growing area, see our raised garden bed plans, which use the same corner-post idea at full garden scale.
- Difficulty
- Beginner
- Build time
- About 2–3 hours (estimate)
- Finished size
- 36 × 12 × 16 1/2 in
914 × 305 × 419 mm - Lumber
- 1x6 cedar boards, 2x2 and 1x2 cedar
- Cost
- Four 1x6 cedar boards, one 2x2 and one 1x2 — check local prices
- PDF plans
- Coming soon
Dimensions
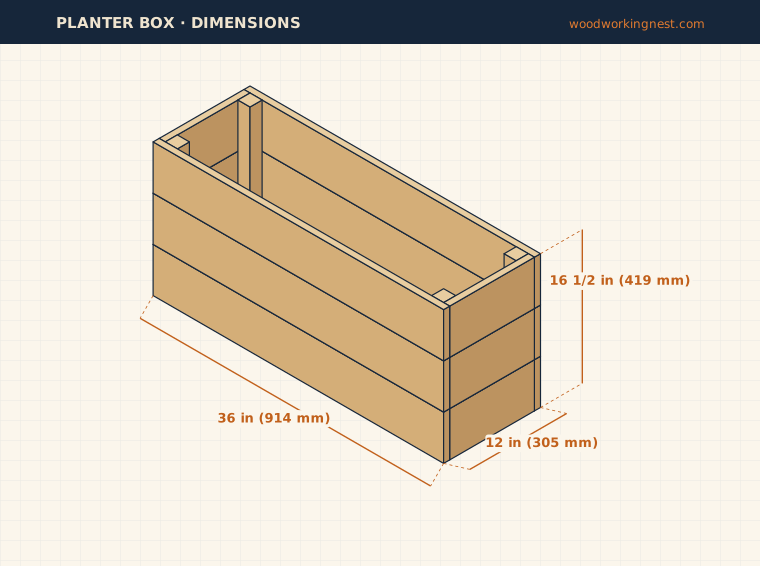
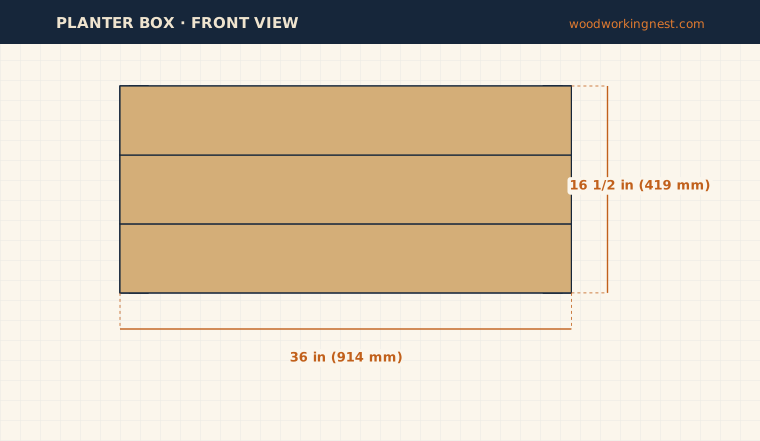
The finished planter box is 36 in (914 mm) long, 12 in (305 mm) wide and 16 1/2 in (419 mm) tall. Inside, the soil space is about 34 1/2 in long and 10 1/2 in wide, and roughly 12 in deep above the slats, enough for herbs, salad greens, flowers and compact vegetables. The 36 in length fits neatly under most windows and along a deck railing. Cedar boards labeled 1x6 vary a little between mills; if yours are thicker than 3/4 in, cut the end boards and slats to fit between the long sides.
Materials (shopping list)
Cedar is light, smells good and resists rot without treatment, which is why it is the classic choice for planters. Redwood and cypress work too. Many stores sell cedar fence pickets that are thinner (often around 5/8 in) and cheaper; they will work, but the box will be lighter-duty and you should measure and adjust the end board and slat lengths. Use exterior-rated coated or stainless steel screws. In the UK, look for 19 × 125 mm or 22 × 150 mm treated or cedar boards; in Australia, 19 × 140 mm treated pine or cypress.
| Material | Qty | Size | Notes |
|---|---|---|---|
| Cedar 1x6 | 4 | 8 ft (2.4 m) | Or cedar fence pickets; adjust lengths to their thickness |
| Cedar 2x2 | 1 | 8 ft (2.4 m) | Legs |
| Cedar 1x2 | 1 | 8 ft (2.4 m) | Bottom cleats |
| Exterior wood screws | about 60 | 1 1/4 in, coated or stainless steel | |
| Landscape fabric | 1 piece | about 4 × 3 ft | To line the inside |
| Potting mix | about 2.5 cubic ft (70 L) | Estimate; varies with settling |
Cut list
From each of the first three 1x6 boards, cut two 36 in side boards and two 10 1/2 in end boards; that uses each 8 ft board almost completely. Cut the five 10 1/2 in bottom slats from the fourth board. The four 16 1/2 in legs come from one 2x2, and the two 31 1/2 in bottom cleats from one 1x2. Set up a stop block for the 10 1/2 in pieces, because there are eleven of them and they must match.
| Part | Qty | Length | Width | Thickness | Material |
|---|---|---|---|---|---|
| Side board | 6 | 36 (914 mm) | 5 1/2 (140 mm) | 3/4 (19 mm) | 1x6 cedar |
| End board | 6 | 10 1/2 (267 mm) | 5 1/2 (140 mm) | 3/4 (19 mm) | 1x6 cedar |
| Bottom slat | 5 | 10 1/2 (267 mm) | 5 1/2 (140 mm) | 3/4 (19 mm) | 1x6 cedar |
| Leg | 4 | 16 1/2 (419 mm) | 1 1/2 (38 mm) | 1 1/2 (38 mm) | 2x2 cedar |
| Bottom cleat | 2 | 31 1/2 (800 mm) | 1 1/2 (38 mm) | 3/4 (19 mm) | 1x2 cedar |
Tools
A miter saw makes this a quick build, but a circular saw or even a hand saw and a square will do. You need a drill/driver, a countersink bit or small pilot bit, a tape measure and a square. Pre-drill every hole near the end of a board; thin cedar splits easily. Clamps help hold the boards against the legs while you screw them on.
Essential: Tape measure, Miter saw, Drill/driver, Safety glasses, Speed square
Optional: Clamps, Staple gun
Step-by-step instructions
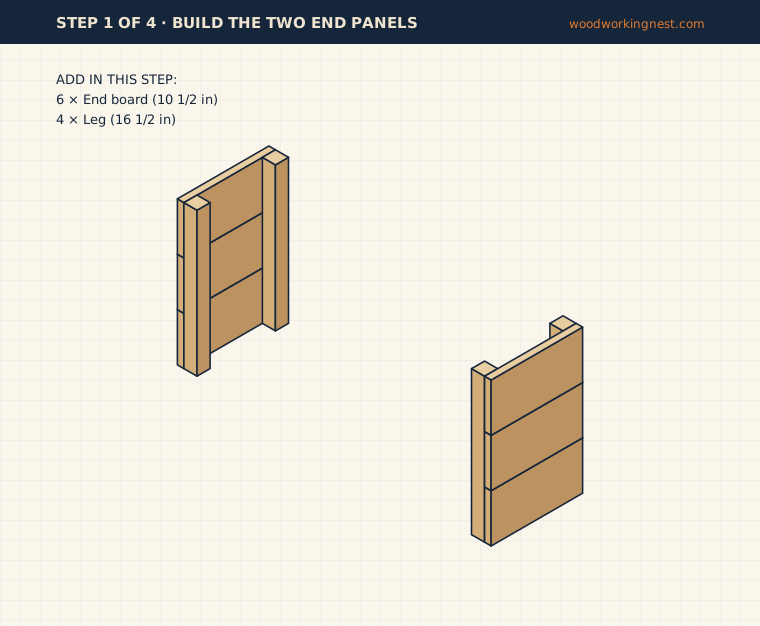
Step 1: Build the two end panels
Lay two legs on a flat surface, 10 1/2 in apart across their outside edges. Place three 10 1/2 in end boards across them, one above the other, with the bottom board flush with the leg ends and the top board flush with the top of the legs. The legs sit on the inside of the panel. Pre-drill and drive two 1 1/4 in exterior screws through each board into each leg.
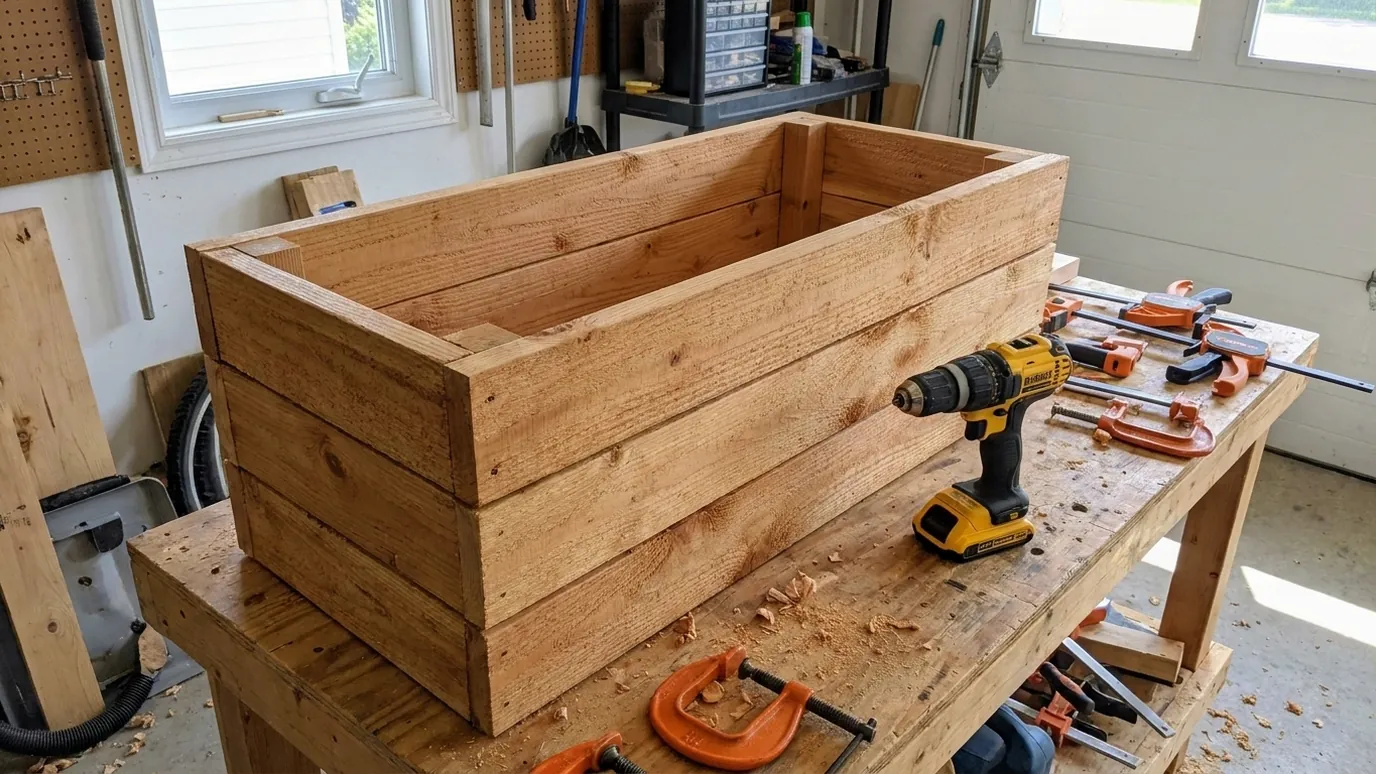
Check that the panel is square by measuring the diagonals, then build the second panel the same way. Keep the board edges tight together; the small natural gap between boards is fine, but avoid wide gaps where soil can wash out.
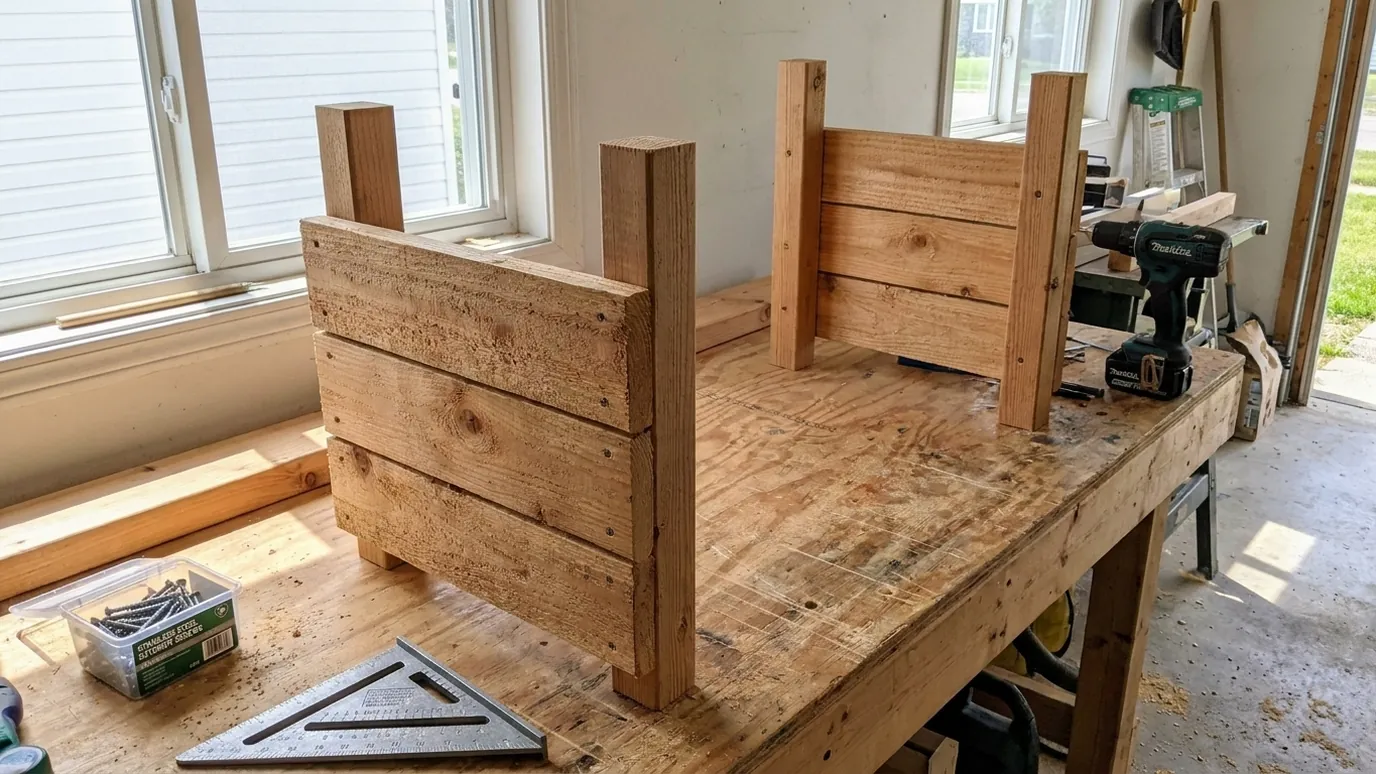
Tip: Lay the panel face down on a flat board so the end boards stay flush with each other.
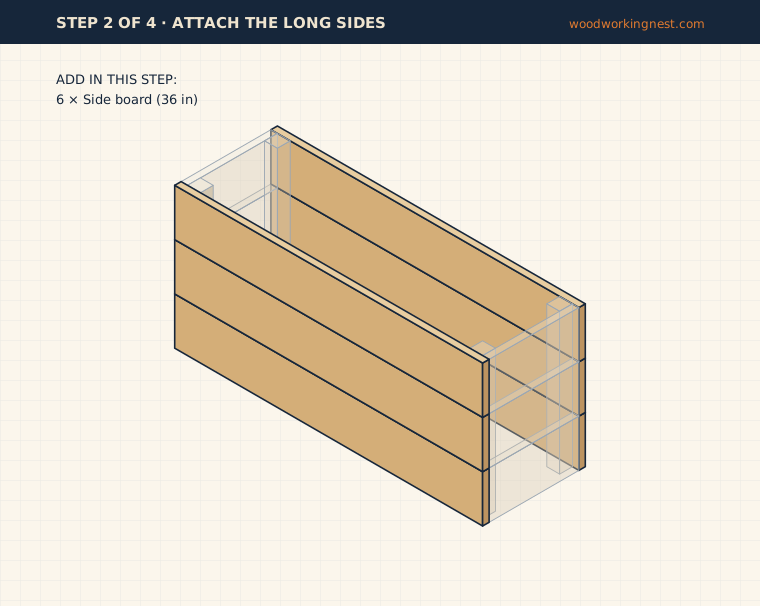
Step 2: Attach the long sides
Stand the two end panels up, legs facing inward, and set them 36 in apart. Hold a 36 in side board against the bottom of the panels so its ends cover the edges of the end boards and line up with the outside faces of the panels. Pre-drill and screw it into the legs, two screws at each end. Add the middle and top side boards the same way, then repeat on the other side.
With all six side boards on, measure the top corner to corner both ways. If the numbers differ, push gently on the long corners until they match before the last screws go in. A square box makes the bottom slats easy to fit.
Step 3: Add the cleats and bottom slats
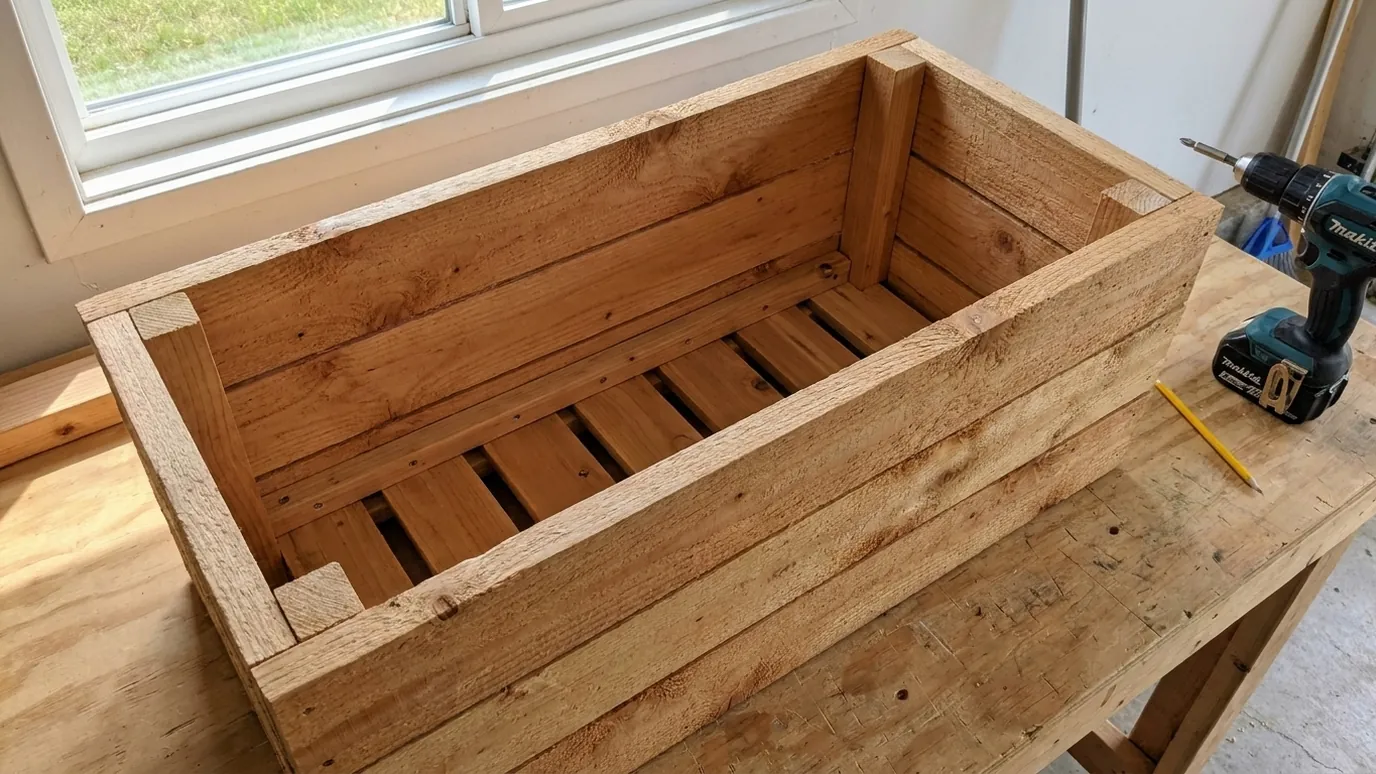
Screw a 31 1/2 in cleat to the inside of each long side, between the legs, with its bottom edge 2 in above the bottom of the box. Lay the five bottom slats across the cleats, starting against one pair of legs and leaving a 1 in gap between slats; a scrap of 1x2 laid flat makes a quick spacer. The last slat should end against the opposite legs.
Fix each slat to the cleats with one screw at each end. One screw lets the boards move a little as they get wet and dry out, which helps prevent splitting. The gaps let water drain freely and keep the bottom dry between waterings.
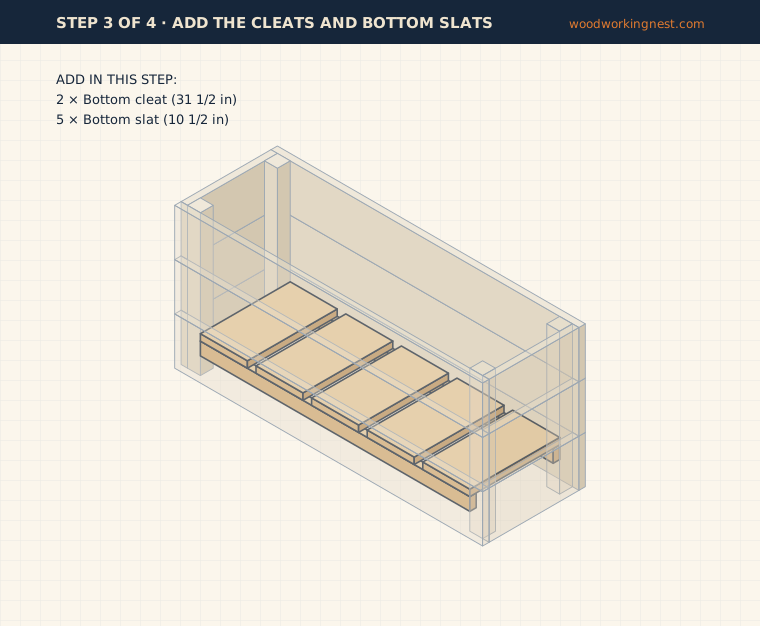
Tip: Drill a pilot hole in each slat end; they are short pieces and split easily.
Step 4: Line and fill the planter
Lay landscape fabric over the slats and up the inside walls, and staple it near the top. The fabric holds the soil in while letting water drain through the gaps. Do not use plastic sheeting on the bottom, which would trap water. You can wrap plastic around the inside walls only, if you want to keep wet soil off the wood.
Set the planter where it will stay before filling it, because a full box is heavy. Fill it with a good potting mix rather than garden soil, which compacts in containers. Leave about 1 in below the top edge so water does not spill over when you water.
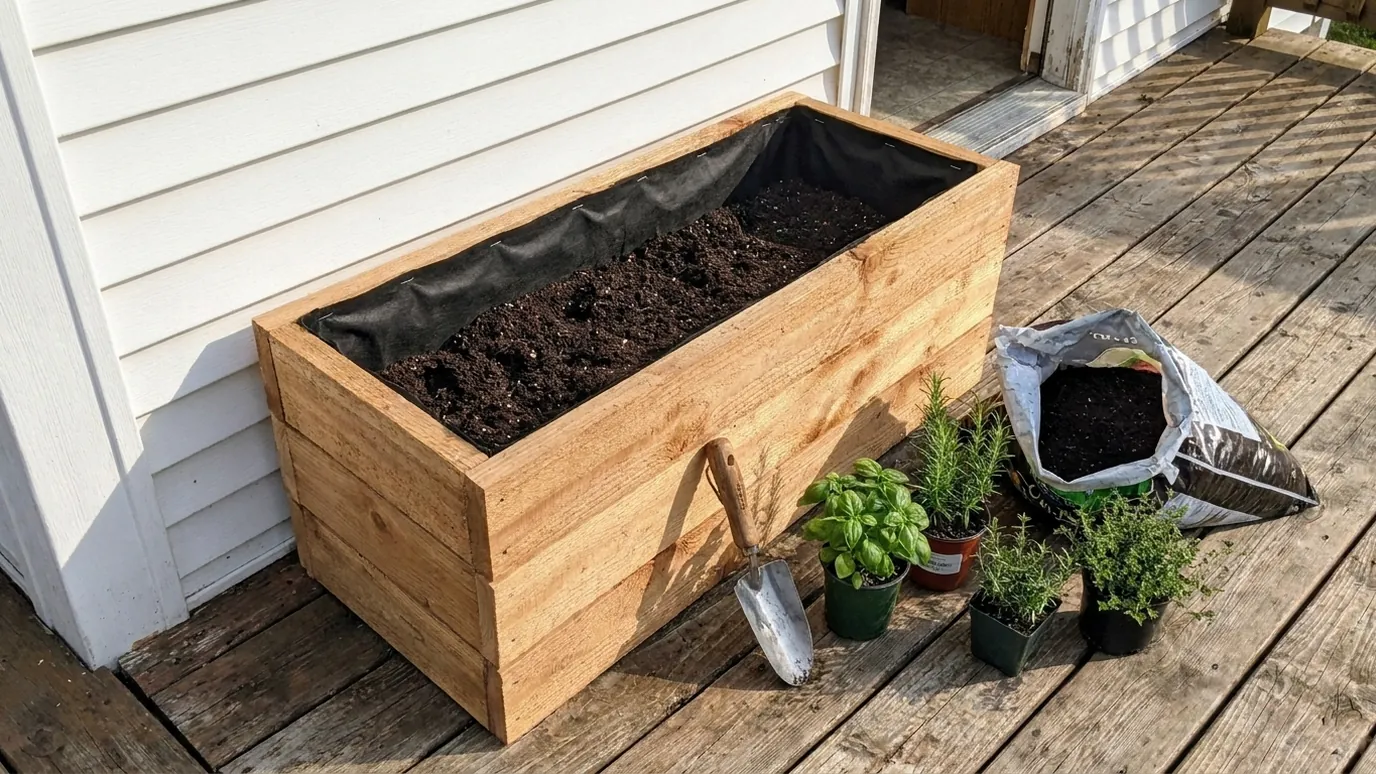
Tip: On a deck, set the planter on small blocks so air can move under it and the deck boards do not stay wet.
Finishing
Cedar can be left bare to weather to silver grey. If you prefer to keep its warm color, apply an exterior penetrating oil or a semi-transparent stain to the outside surfaces only, and let it cure completely before filling. Seal the bottom end grain of the legs, which sits closest to wet ground, and renew the finish every year or two. Avoid coating the inside where it touches soil and roots, especially if you grow herbs or vegetables.
Common mistakes to avoid
The most common mistake is a solid bottom with no drainage, which turns the planter into a bucket and rots it from the inside. The second is skipping pilot holes: thin cedar splits easily near the board ends. The third is filling the planter with heavy garden soil, which compacts and drains poorly in a container. Use potting mix, and set the planter in place before you fill it.
How to change the size
For a longer planter, make the side boards and cleats longer by the same amount and add one more bottom slat for every 6 1/2 in. Above about 48 in, add a pair of legs in the middle of each side so the boards do not bow. For an elevated planter you can use standing up, make the legs about 30 in long and add a second set of cleats lower down for a shelf. A 1x4 cap screwed flat around the top, mitered at the corners, gives a neater finish and a place to rest a cup. Find more outdoor projects in our outdoor woodworking plans.
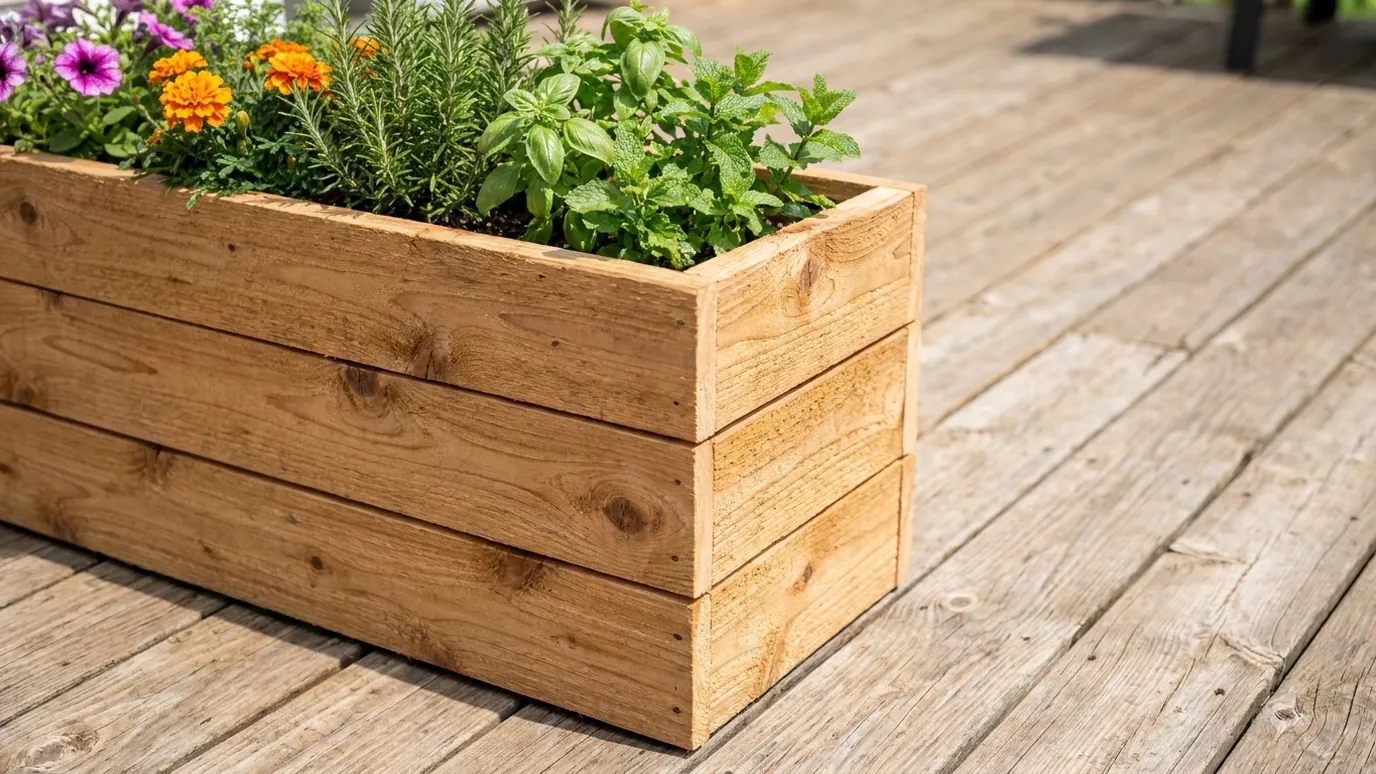
Finished planter box photos
Safety
Wear safety glasses when cutting and drilling, and gloves when handling rough cedar. Clamp short pieces before cutting them instead of holding them by hand. A planter full of wet soil is heavy, so place it before filling and lift with your legs, or ask for help. Read our woodworking safety guide before you start.
Frequently asked questions
Is a DIY planter box hard to build?
No. Every cut is straight, there are only five different part sizes, and everything is screwed together. It is a good first outdoor project.
What wood is best for wooden planter box plans?
Cedar, redwood and cypress resist rot naturally and are popular for planters. Pressure-treated wood lasts well too; many people line it or prefer untreated wood for edible plants.
Do planter boxes need drainage holes?
Yes. Without drainage, water collects in the bottom, roots rot and the wood decays quickly. This plan uses a slatted bottom with 1 in gaps, lined with landscape fabric.
Should I line a wooden planter box?
Landscape fabric on the bottom keeps soil in and lets water out. Plastic on the inside walls only can keep wet soil off the wood, but never cover the bottom with plastic.
How deep should a planter box be?
About 8–12 in of soil suits herbs, flowers and salad crops. This box gives about 12 in above the slats. Tomatoes and peppers grow better in deeper containers or a raised bed.
Can I make these planter box plans longer?
Yes. Lengthen the side boards and cleats by the same amount and add bottom slats. Above about 4 ft, add middle legs so the sides do not bow.
Related plans
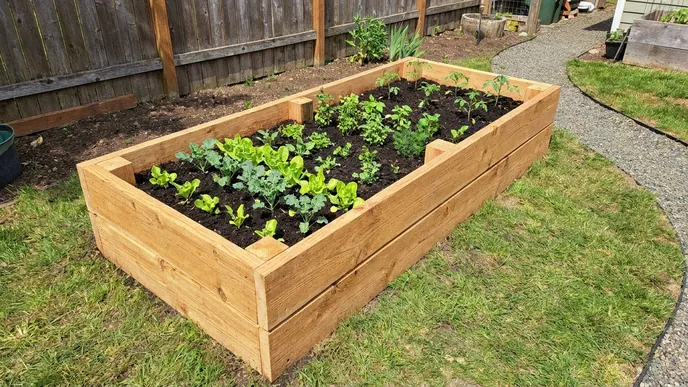
Raised Garden Bed Plans: A 4 × 8 ft Cedar Bed
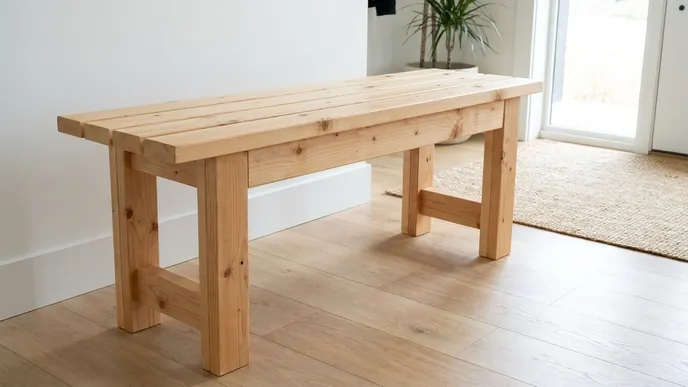
2x4 Bench Plans: Simple DIY Bench for Indoors or Out
More plans: all outdoor woodworking plans · every free woodworking plan · board foot calculator
How this plan was made
This plan was designed from a full 3D part model and checked so the cut list, the diagrams and the finished size agree. It has not yet been built and photographed by us. The joinery and sizes follow common, well-tested planter box practice.
 Technically reviewed by Daniel Brooks on . Senior woodworking contributor and technical plan reviewer. He checked the measurements, the materials and the assembly steps.
Written by Woodworking Nest Editors. Measurements, the cut list and all diagrams come from one shared 3D part model, so they always agree. Photos marked “Illustrative render” were created with AI image tools to show the finished look; they are not photos of a real build. Status: Technically reviewed. Found a mistake? Tell us and we will fix it (see our corrections policy).