French Cleat Tool Wall: Free French Cleat Plans for Your Shop
By Woodworking Nest Editors · Reviewed by Daniel Brooks · Updated
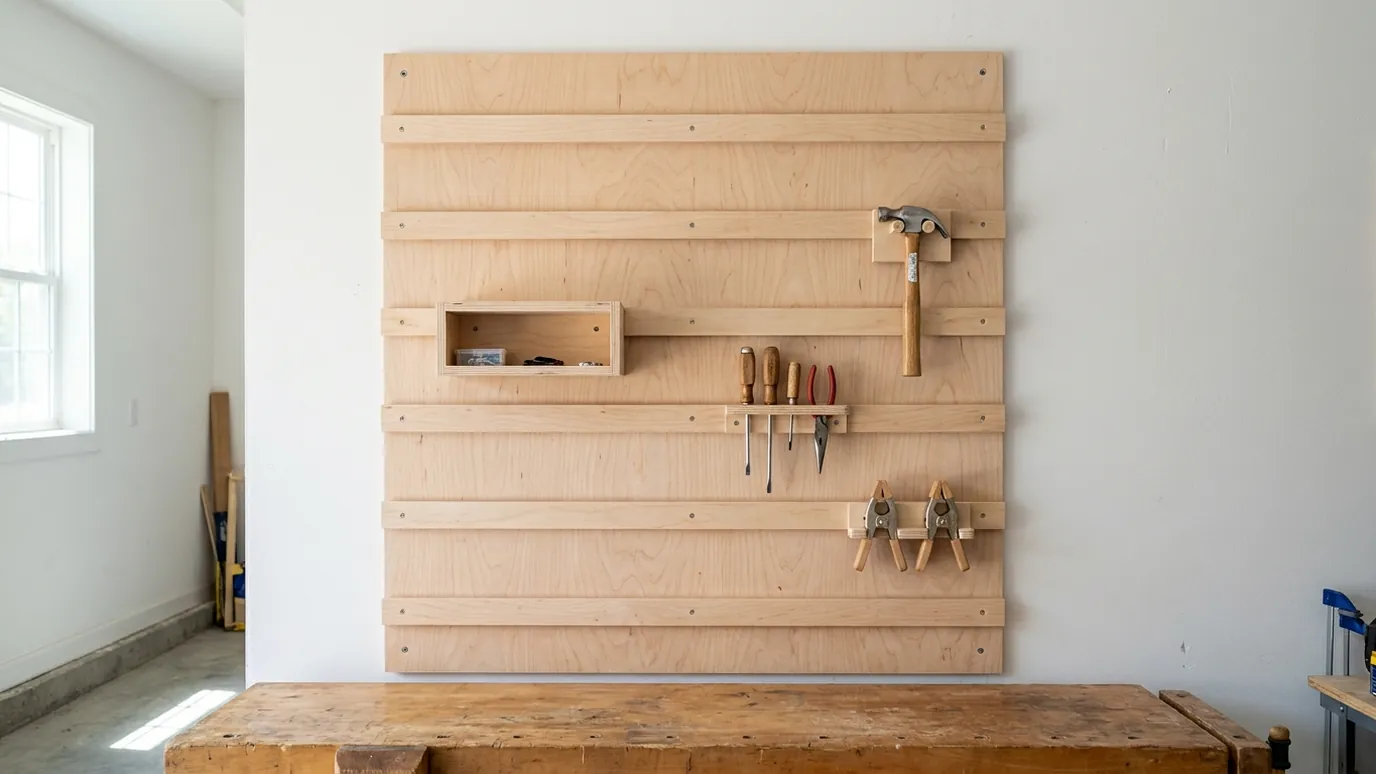
A French cleat tool wall is a plywood panel with strips cut at 45° screwed across it. Holders with a matching strip hook over them, so you can move any tool anywhere. This plan builds a 4 × 4 ft wall with six cleats 8 in apart and a hanging shelf, all from one sheet of 3/4 in plywood.
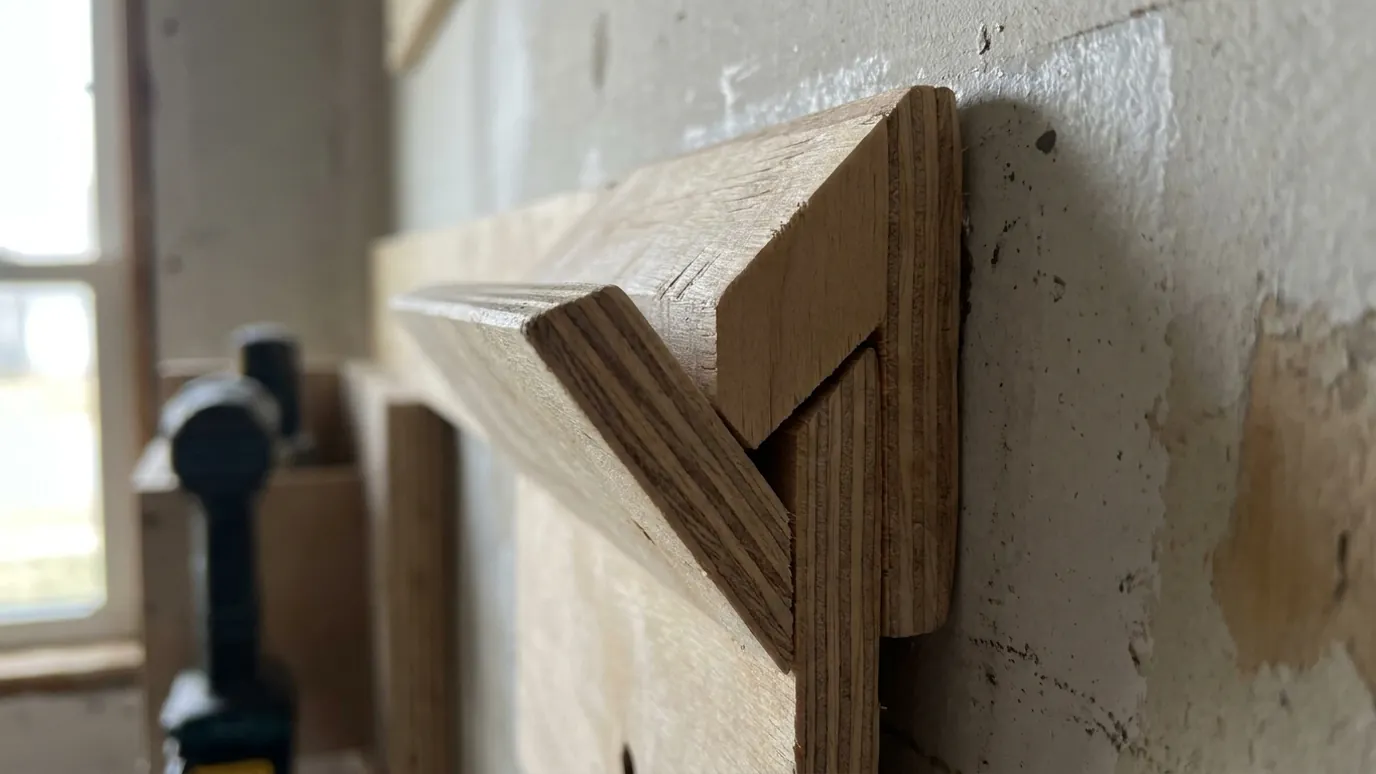
Pegboard is cheap and quick, but hooks fall out every time you grab a tool and the board flexes under anything heavy. A French cleat tool wall solves both problems. Each cleat is a plywood strip with its top edge cut at 45°, and every holder has a matching strip on its back that hooks over it. Gravity pulls the two angles together, so a holder stays put until you lift it off, and you can rearrange the whole wall in minutes as your tool collection changes.
This plan uses a single sheet of 3/4 in plywood. Half of it becomes a 4 × 4 ft backer panel screwed into the wall studs; the other half is ripped into six wall cleats and the parts for a first hanging shelf. It pairs well with a sturdy bench underneath, like our 2x4 workbench, so the tools you use most hang right where you work.
Safety review: this project carries load or structural risk. Check local codes and follow the safety notes.
- Difficulty
- Beginner
- Build time
- About 3–4 hours (estimate)
- Finished size
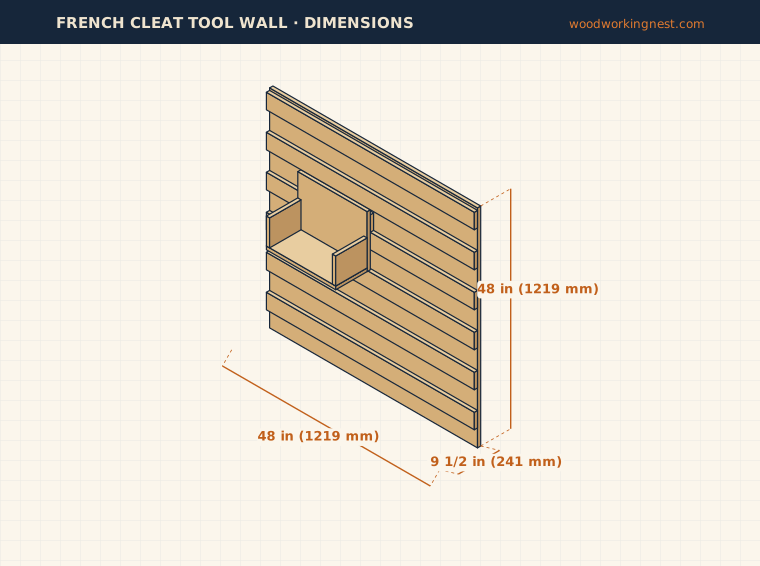
- 48 × 9 1/2 × 48 in
1219 × 241 × 1219 mm - Lumber
- 3/4 in plywood
- Cost
- One sheet of 3/4 in plywood and a box of screws — check local prices
- PDF plans
- Coming soon
Dimensions
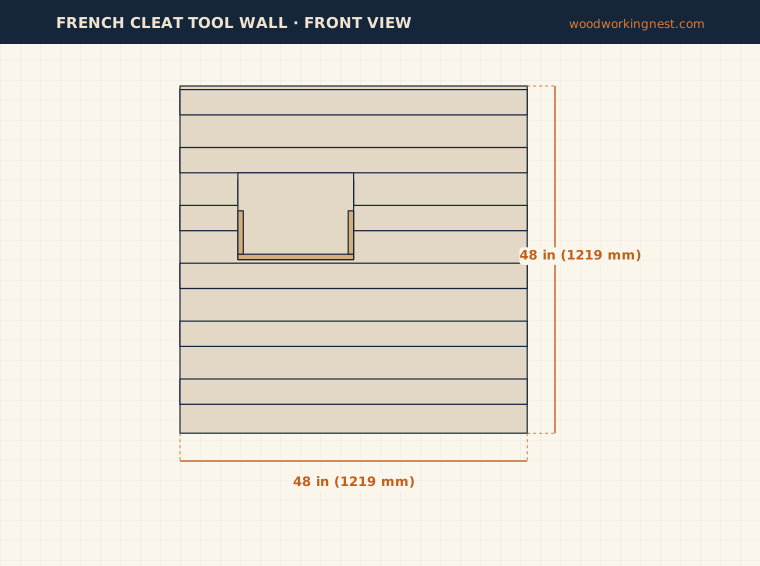
The panel is 48 × 48 in (1219 × 1219 mm), with six cleats spaced 8 in (203 mm) apart, center to center. The first cleat starts 4 in from the bottom of the panel and the top one ends 1/2 in below the top edge. Each cleat is 3 1/2 in (89 mm) on its long face. The shelf in step 4 is 16 in wide and stands about 9 1/2 in (241 mm) out from the wall, including the backer and cleats. Mount the panel with its bottom edge a few inches above your bench top, so tools hang between about 40 and 85 in from the floor.
Materials (shopping list)
Use good 3/4 in plywood, such as sanded pine, birch or another cabinet-grade sheet. The 45° edges need solid plies with few voids, because the cleats carry the weight. Avoid MDF and particleboard for cleats; they crumble at the sharp edge over time. In the UK, use 18 mm plywood; in Australia, 17 or 19 mm structural or BC-grade plywood. You also need screws long enough to reach 1 1/2 in into the wall studs through the backer.
| Material | Qty | Size | Notes |
|---|---|---|---|
| Plywood | 1 sheet | 3/4 in, 4 × 8 ft | Cabinet-grade, few voids |
| Wood screws | about 40 | 2 1/2 in | Into the wall studs |
| Wood screws | about 50 | 1 1/4 in | Cleats and shelf |
| Wood glue | 1 small bottle |
Cut list
Cut the sheet in half to 48 × 48 in for the backer. From the other half, rip the cleats with your saw blade tilted to 45°. The fastest way is to cut 7 in wide strips, then rip each one down the middle at 45°, which gives two cleats per strip with the angle in the right place. Three strips give you the six wall cleats. Rip one more short strip for the shelf cleat, then cut the shelf back, shelf board and two sides from the leftover piece.
| Part | Qty | Length | Width | Thickness | Material |
|---|---|---|---|---|---|
| Backer panel | 1 | 48 (1219 mm) | 48 (1219 mm) | 3/4 (19 mm) | 3/4 in plywood |
| Wall cleat | 6 | 48 (1219 mm) | 3 1/2 (89 mm) | 3/4 (19 mm) | 3/4 in plywood, ripped at 45° |
| Shelf back | 1 | 16 (406 mm) | 12 (305 mm) | 3/4 (19 mm) | 3/4 in plywood |
| Shelf board | 1 | 16 (406 mm) | 7 1/4 (184 mm) | 3/4 (19 mm) | 3/4 in plywood |
| Shelf side | 2 | 7 1/4 (184 mm) | 6 (152 mm) | 3/4 (19 mm) | 3/4 in plywood |
| Shelf cleat | 1 | 16 (406 mm) | 3 1/2 (89 mm) | 3/4 (19 mm) | 3/4 in plywood, ripped at 45° |
Tools
A table saw makes the 45° rips easiest and safest. A circular saw with an adjustable bevel and a straight guide works too: clamp a straight board as a fence and cut slowly. You also need a drill, a stud finder, a 4 ft level, a tape measure and clamps. A countersink bit keeps screw heads below the surface so holders slide on and off cleanly.
Essential: Tape measure, Drill/driver, Clamps, Safety glasses, Level, Table saw or circular saw with a bevel, Stud finder
Optional: Countersink bit
Step-by-step instructions
Step 1: Mount the backer panel on the studs
Find the wall studs with a stud finder and mark each one with a vertical pencil line above and below where the panel will go. In most US and Canadian homes they are 16 in apart, so a 48 in panel crosses three or four of them. Hold the panel at the height you want, check the top edge with a level, and drive 2 1/2 in screws through the panel into every stud, every 8 in from top to bottom.
The panel is what spreads the load into the wall, so do not rely on drywall anchors. If your walls are masonry, use concrete screws or sleeve anchors rated for the weight you plan to hang, following the anchor maker's instructions.
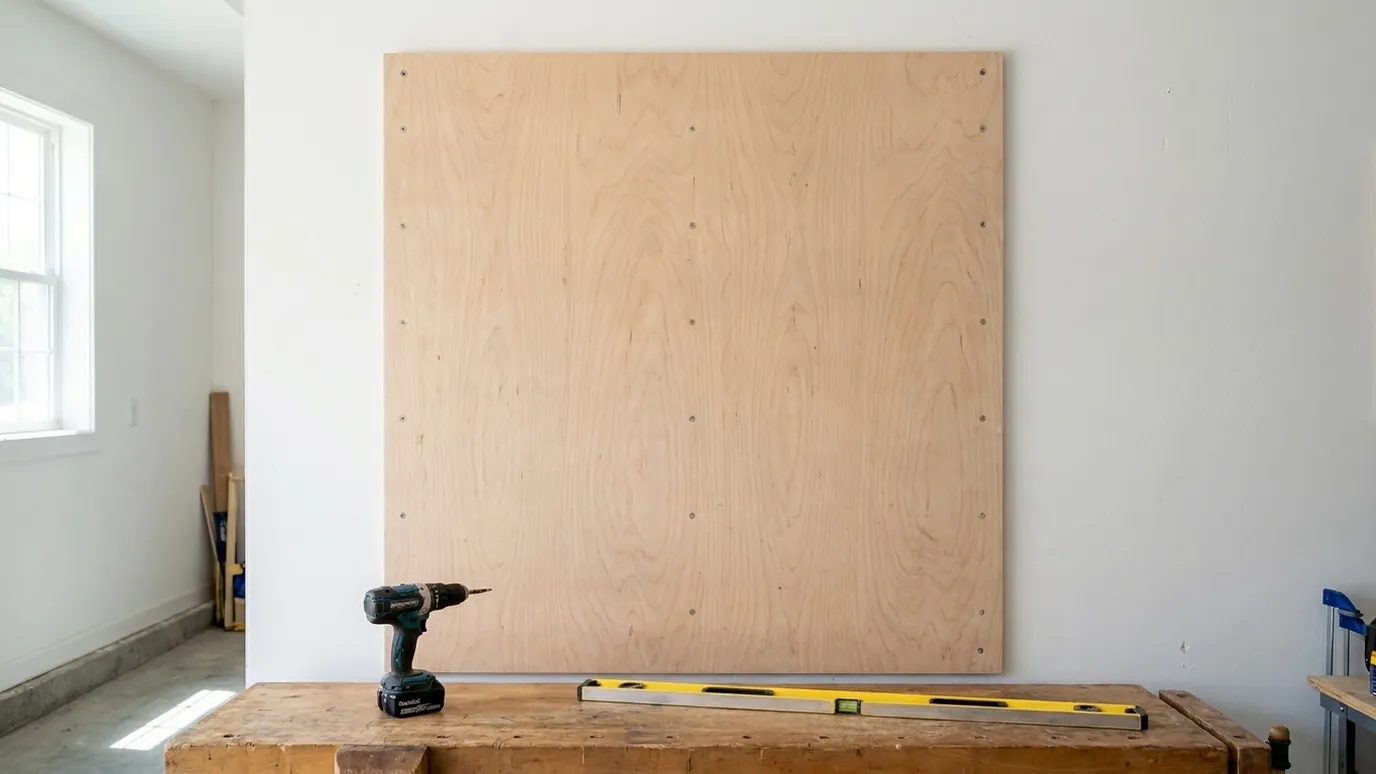
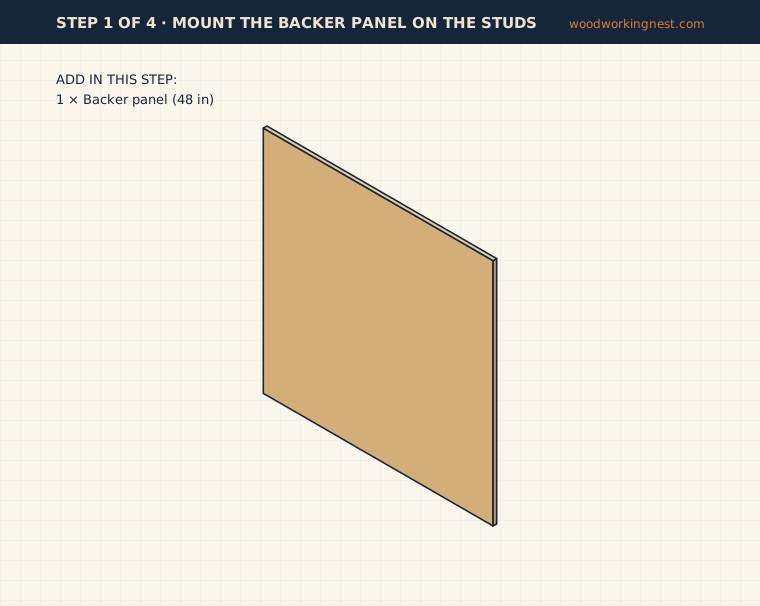
Tip: Transfer the stud lines onto the face of the panel so you can see them in the next steps.
Safety: Check for hidden pipes and wiring before you drill into a wall.
Step 2: Rip the 45° cleats
Set your table saw blade to 45° and check the angle with a square or a speed square on a test piece. Rip three 7 in wide strips from the plywood first, at 90°. Then run each strip through again with the blade tilted, cutting it down the middle along its length. Each cut gives you two cleats with one square edge and one 45° edge, each about 3 1/2 in on its long face.
Keep the fence on the same side for every pass so all the cleats come out the same. Rip one more short piece the same way for the shelf cleat. Lightly sand the sharp 45° edge just enough to remove splinters, without rounding it over.
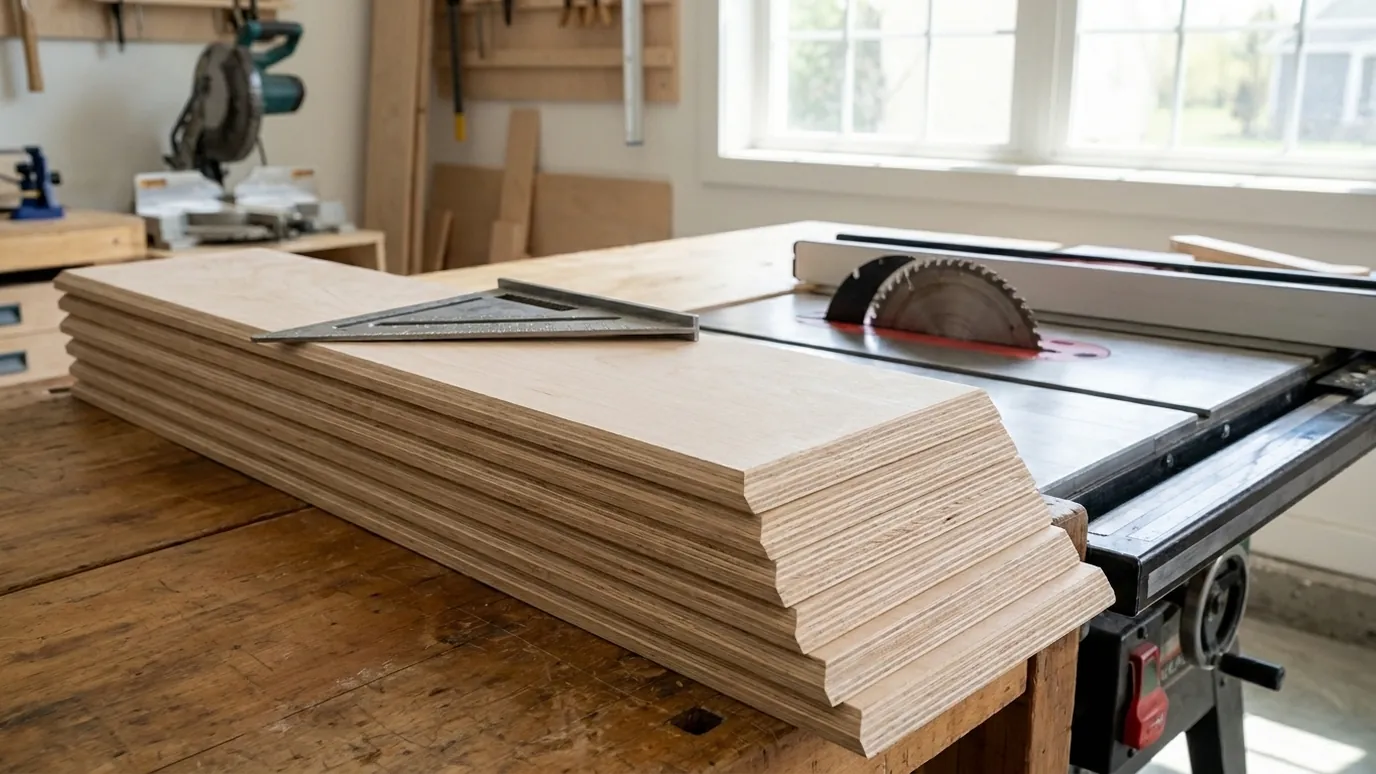
Tip: Cut one extra cleat; holders always multiply once the wall is up.
Safety: Use a push stick for every rip and never stand directly behind the blade.
Step 3: Screw the cleats to the backer
Draw level lines across the backer 4, 12, 20, 28, 36 and 44 in up from its bottom edge. Each line marks the bottom of one cleat. Hold the first cleat on the lowest line with its square edge against the panel and its 45° edge pointing up and back toward the wall, forming a pocket a holder can drop into. Glue it, then drive 1 1/4 in screws every 8 in, plus a 2 1/2 in screw into each stud.
Work your way up the panel, checking each cleat with a level before you fix it. Getting the angle direction wrong is the classic mistake, so check every cleat against the first one before driving screws.
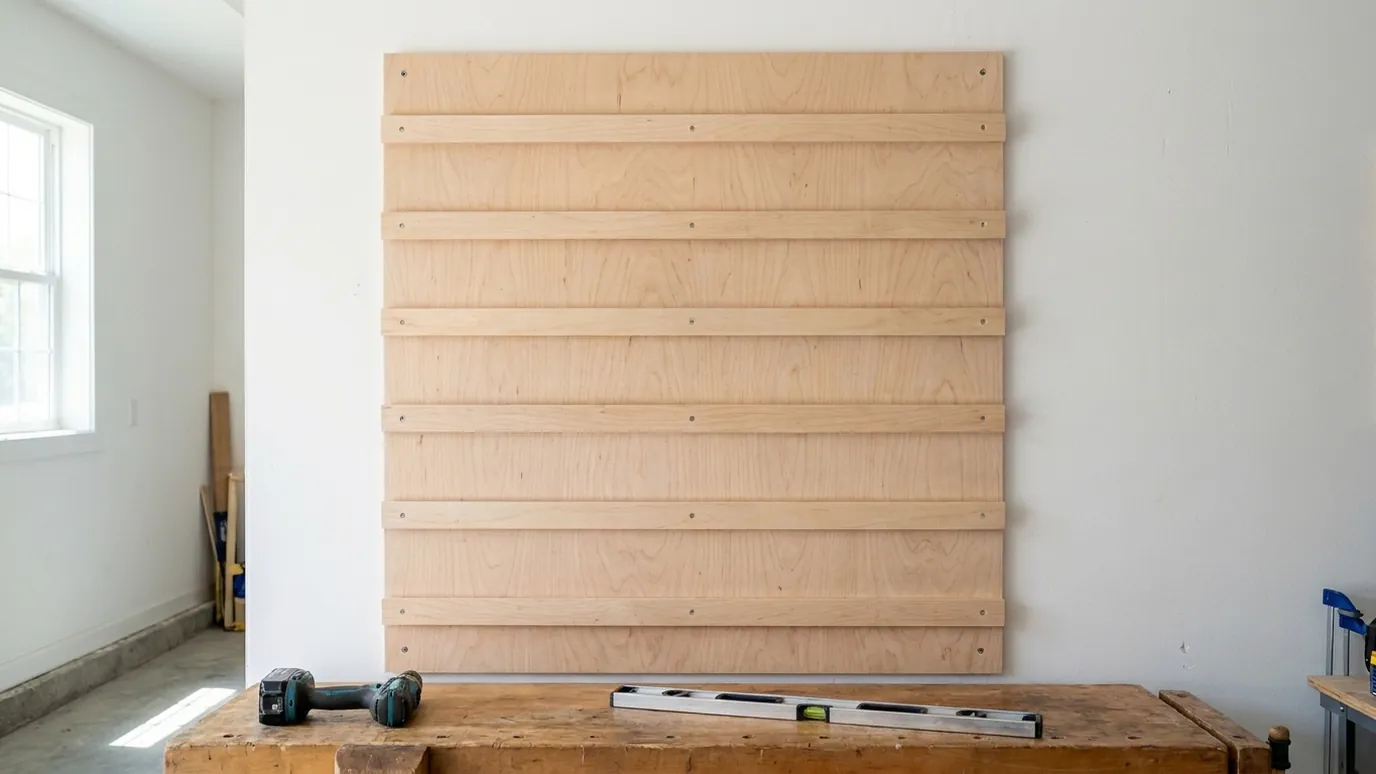
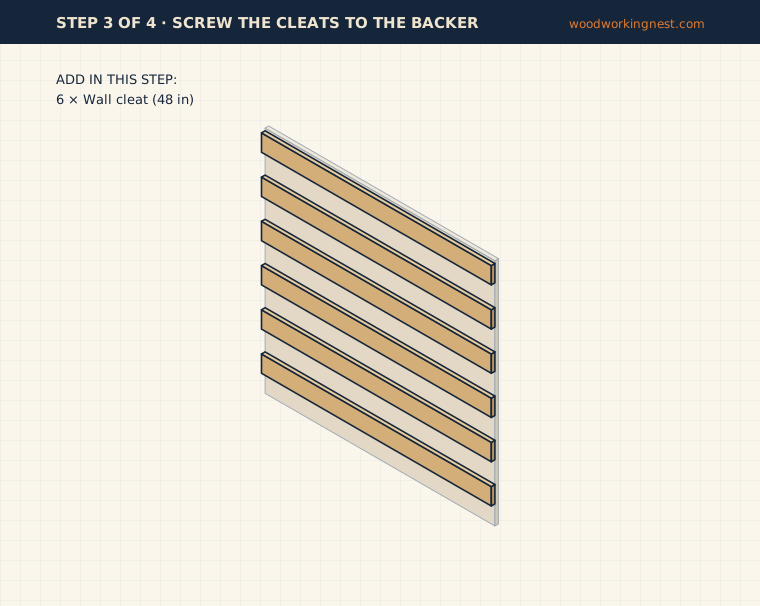
Tip: An 8 in spacer block between cleats makes the spacing quick and exact.
Step 4: Build a hanging shelf
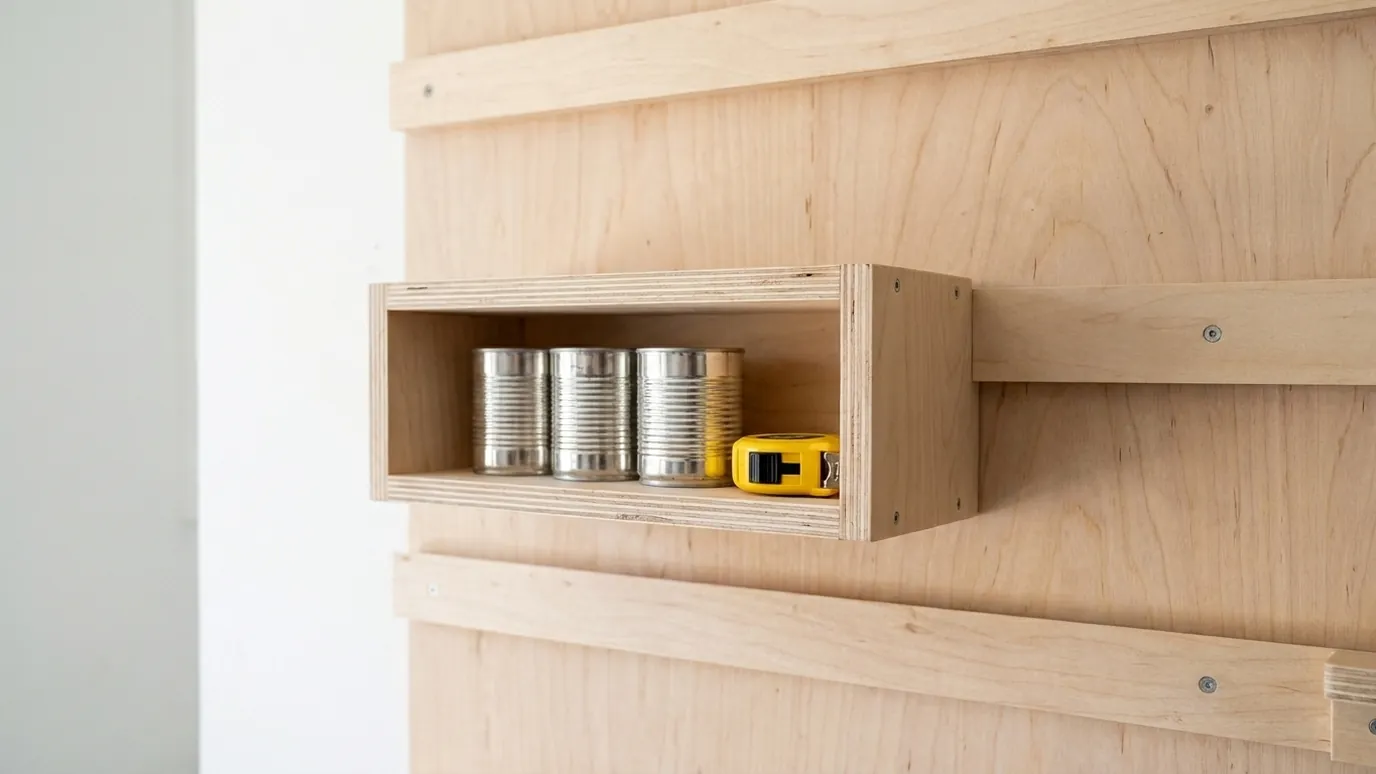
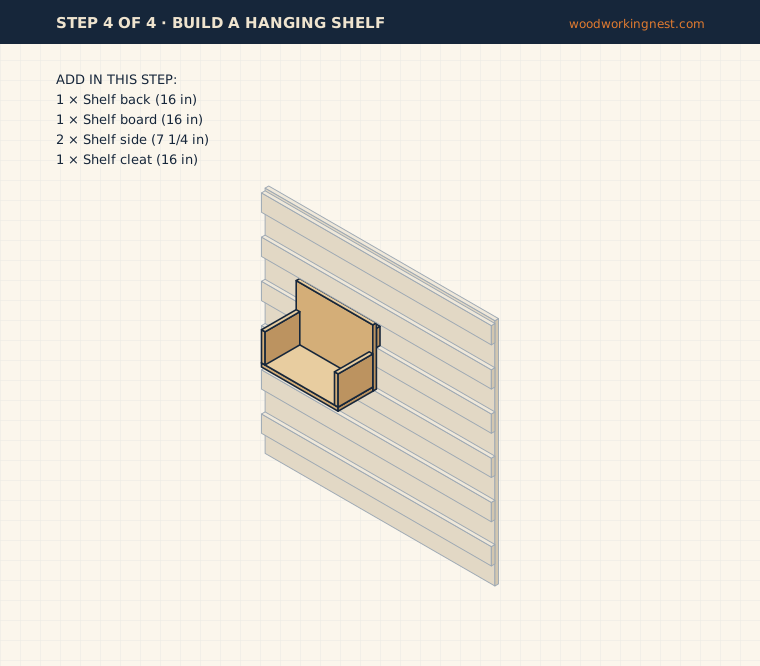
Glue and screw the shelf board to the bottom edge of the 16 × 12 in back, then fit a side at each end so the shelf forms a shallow open box. Turn it over and glue the shelf cleat across the back, 7 1/2 in up from the bottom edge, with its 45° edge pointing down and toward the back plate. Screw it on from the front through the back.
Lift the shelf onto the wall so its cleat drops behind one of the wall cleats. The angles pull it tight against the panel. Push down firmly on the front to check it is secure before you load it. Every other holder, for screwdrivers, clamps or a drill, uses the same idea: a back plate plus a cleat.
Tip: Make holders as you need them, using scraps from this sheet.
Finishing
Plywood shop walls can stay bare, but a coat of wipe-on polyurethane or a light paint keeps them clean and makes holders slide on more easily. Paint the backer a light color to brighten the space, and leave the cleat edges unfinished or lightly waxed so they grip well. If you paint, let it dry fully before hanging anything, or holders can stick to the cleats.
Common mistakes to avoid
The biggest mistake is mounting the cleats upside down, with the 45° edge pointing away from the wall, so nothing can hook on. Check the first cleat against a holder before screwing the rest. The second is screwing the backer only into drywall; it must go into studs or masonry. The third is spacing cleats too far apart for small holders. Eight inches works for most tools, and you can always add a cleat in between later.
How to change the size
To cover a whole wall, repeat the panel side by side, or skip the backer and screw long cleats straight into the studs, 8 in apart. For heavier tools, such as a mitre saw or a compressor hose reel, make that holder's back plate wider and use two cleats on it. Narrow 2 in cleats save space for hand tools, and a strip of magnetic tool holder fits on a small plate. More shop storage ideas are coming in our storage plans.
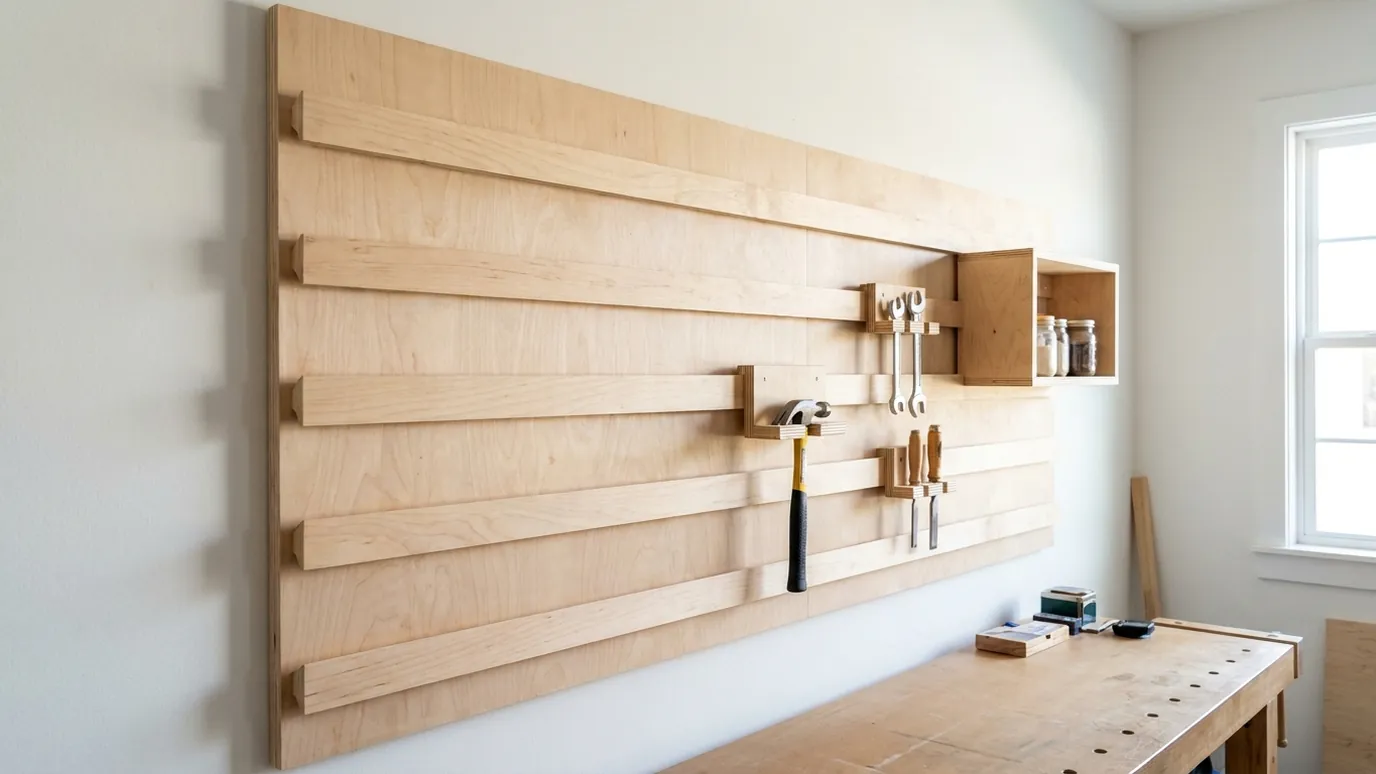
Finished French cleat tool wall photos
Safety
Wear safety glasses when ripping the cleats, and use a push stick on the table saw. Find studs and check for wires and pipes before drilling into a wall. Fix the backer into studs or masonry, never into drywall alone. These plans do not include a load rating; hang heavy tools low and check that each holder is secure before letting go. Read our woodworking safety guide before you start.
Frequently asked questions
Is a French cleat tool wall better than pegboard?
For most shops, yes. Cleats hold heavier tools, holders do not fall out when you grab a tool, and everything can be moved without hooks. Pegboard is quicker to install and cheaper for very light tools.
What angle should French cleats be?
45° is the standard angle. It hooks securely, is easy to set on most saws, and lets you cut two cleats from one strip with a single rip.
How far apart should French cleats be?
About 6–8 in center to center for a general tool wall. This plan uses 8 in. Closer spacing gives more flexibility for small holders.
Can I make French cleats without a table saw?
Yes. A circular saw with its bevel set to 45° and a clamped straightedge as a guide works well. Cut slowly and support both sides of the cut.
What plywood is best for French cleat plans?
3/4 in cabinet-grade plywood with few voids, such as birch or sanded pine. Avoid MDF and particleboard; the thin 45° edge breaks down under load.
How much weight can a French cleat hold?
We do not give a load rating, because it depends on the plywood, the screws and how the panel is fixed to the wall. Screwed into studs, a cleat wall easily handles everyday hand and power tools. Hang heavy items low.
Related plans
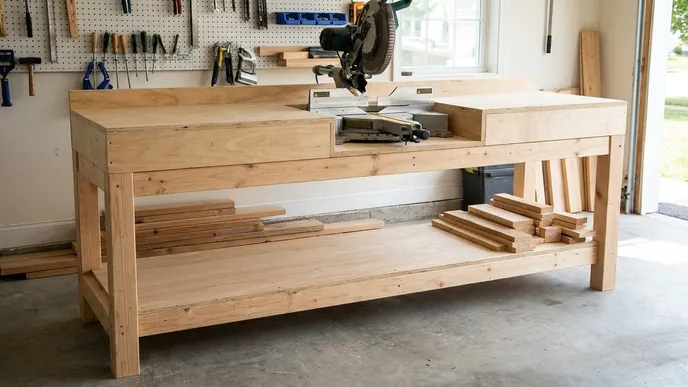
Miter Saw Station Plans: A 6 ft DIY Miter Saw Stand
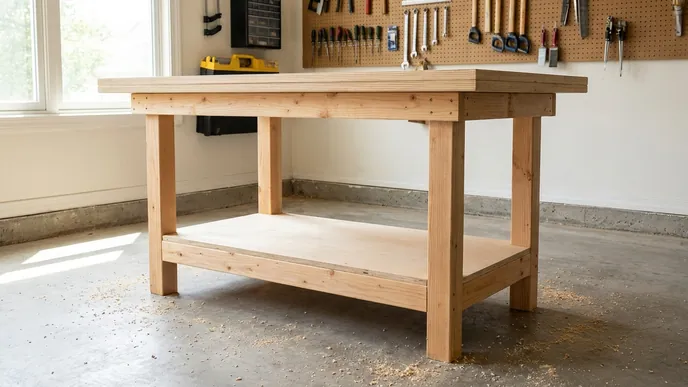
2x4 Workbench Plans: A Sturdy DIY Workbench With a Shelf
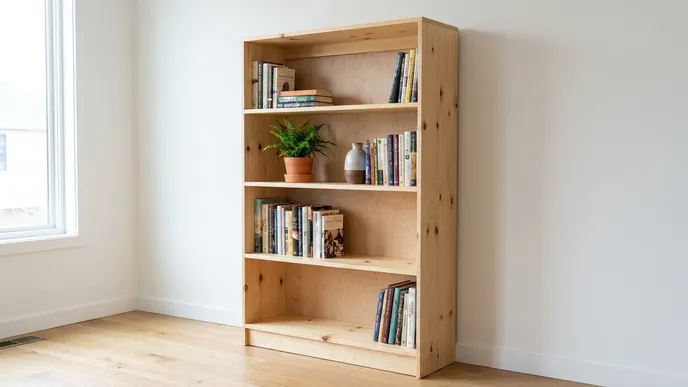
How to Build a Bookshelf: Simple DIY Bookshelf Plans
More plans: all workshop plans · every free woodworking plan · board foot calculator
How this plan was made
This plan was designed from a full 3D part model and checked so the cut list, the diagrams and the finished size agree. In the diagrams the cleats are drawn as flat strips; the text and cut list give the 45° edge. It has not yet been built and photographed by us. The method follows common, well-tested French cleat practice.
 Technically reviewed by Daniel Brooks on . Senior woodworking contributor and technical plan reviewer. He checked the measurements, the materials and the assembly steps.
Written by Woodworking Nest Editors. Measurements, the cut list and all diagrams come from one shared 3D part model, so they always agree. Photos marked “Illustrative render” were created with AI image tools to show the finished look; they are not photos of a real build. Status: Technically reviewed. Found a mistake? Tell us and we will fix it (see our corrections policy).